Friday 14 November 2014

Updating dolls again

Sometimes a doll just doesn't look right to you, and you leave it and look at it and think no it's not right. 

I've recently been updating my dolls as some were made before things I know now.  My most recent doll the ice fairy I wasn't entirely happy with. Her eyelids were too heavy and her boots too clunky. So I took a scalpel to the bits I wasn't happy with. I removed some of eyelid opening the eyes more, and shaved off some of the nose which was a little too fat. I shaved off the heaviness of the boots and did a repainted on them and the face. 

I'm now much happier with how she looks.

I also bought some modge podge which I'd heard about but wasn't really sure what it was. It is magic in a bottle. I've used it to glaze all my doll eyes and nails and it looks amazing. Eyes have more depth and nails look real.  A real gem.

Bigger eyes and slimmer nose. She has a more dreamy look now.


These boots are made for skating.


Saturday 1 November 2014

Almost finished

I've nearly finished this toddler doll.

I got the body finished off. 


Then started work on the outfit.  A nice pair of jammys.

The slippers need finishing with more fluff, and I need to make a crochet hat for her.

Saturday 11 October 2014

Sew slow

I've been working on putting together this little doll for a while.  
I recently made the feet from polymer clay and added some wool roving to make them fluffy slippers.  Working on adding cover to the stuffing/armature now. I like to sew, I've done it since I was a child, but the needle always finds a way of stabbing me! 😄. She was without a body for a long time so I really need to get on and finish her.  The great news is she does stand on her own so that's a relief.


Sunday 24 August 2014

Clown Doll Tutorial - Torso

In this second part of my tutorial I show you how to create the body for your head created in Part One.

This is the wire I use for the armature. It is a garden wire, galvanised steel used for fencing.

 Cut a length for the legs.  How much you need depends on the height of the doll you are making.

Fold in half.


About one inch down from the top, bend both sides out about half an inch, then bend down to create legs.

For the arms, do the same thing only upside down.


Bring down the arms.

Join the two middle bits together as shown.

Use tape or wire to join them together.

Securely attach the neck wire to the main torso with more tape or wire. 

Put a tube of clay around the neck and blend into the head.

Rolls out a tube of clay as wide as the shoulders on your doll.

Cut in half. 
Press each piece onto the armature at the shoulders.  Blend into the neck.

Blend into the neck and other shoulder.

Use more foil to pad out the body.  Shape your torso using the foil, chest pelvis etc. Cover with tape when finished.

 Cover the body with clay and blend into the shoulders and neck.  If your neck is too thin add clay to thicken it.

Roll two small balls of clay.


Flatten and place onto the head.

Blend in towards the face.

Create a small C shape.

Draw a line around the outer edge of the ear.


Create a dent towards the top of the ear near the outer edge.

Do the same on both sides of the head.

Roll two large balls of clay.

Create rods.

Shape into a sort of club type shape.

Pinch and roll the edge of the clubs to create the forefinger and pinky.  Try to create a hand shape.

Roll a long rod of clay.


Cut into small rods to make fingers.

Attach to the hand in between the existing fingers.  Blend into the clay.

Unfortunately this is where I stopped photographing my progress.

I don't make my hands this way now as it is quite fiddly.  There are plenty of good tutorials out there on how to make hands.  

Tony Rice has a good tutorial as does Deb Wood.  They both also have a good feet tutorial.

This is where I was at once all the sculpting was finished and all limbs attached.

Basically sculpt your arms/hands, sculpt your boots and then attach them to your armature with glue.

Use pillow stuffing or quilt batting to wrap around the wire to pad out the body parts as much as you like.

Use some cloth to cover over the padding and sew it up or use fabric glue.

Paint your doll's face however you like. I use acrylic paints.  Paint the nails and boots.

Glue hair over the head and style however you like.  There are plenty of tutorials out there for attaching hair.   This hair was orange wool roving, but I eventually replaced it with black and white viscose hair.

I use false eyelashes from a pound store, cut them to size and use fabric glue to stick them on the eyelids.

Create your clothes using different scraps of fabric, sewn or glue on in a haphazard way.

This is what the doll looks like now.


Clown Doll Tutorial - Head

So this is how I made the Raggedy Clown Doll.  This is one of the ways I make my dolls although I have refined my technique since making this a year ago.


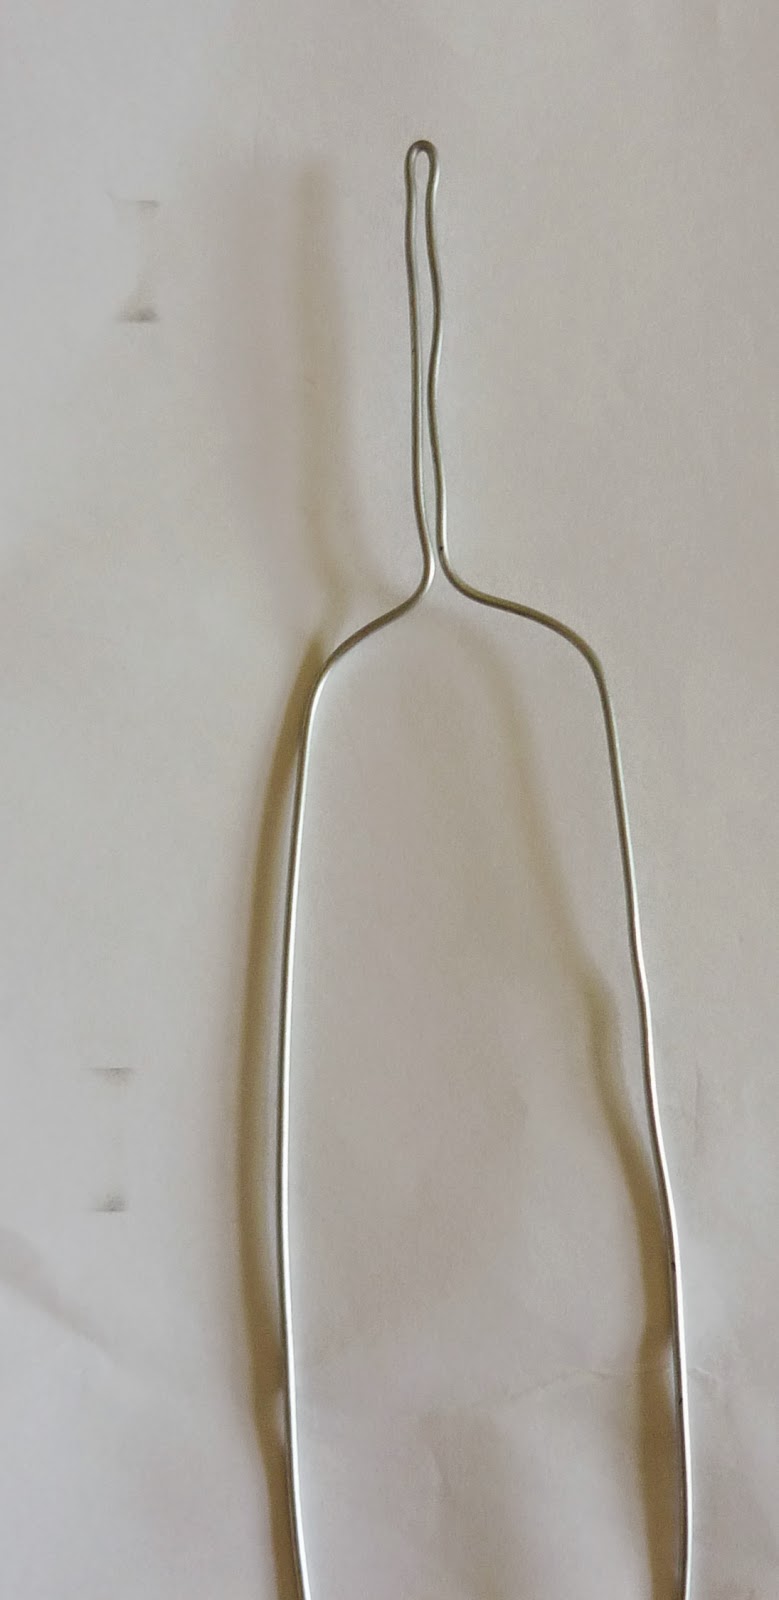
Begin with a large wad of tin foil for the head armature.

Scrumple it into a tight ball shape.

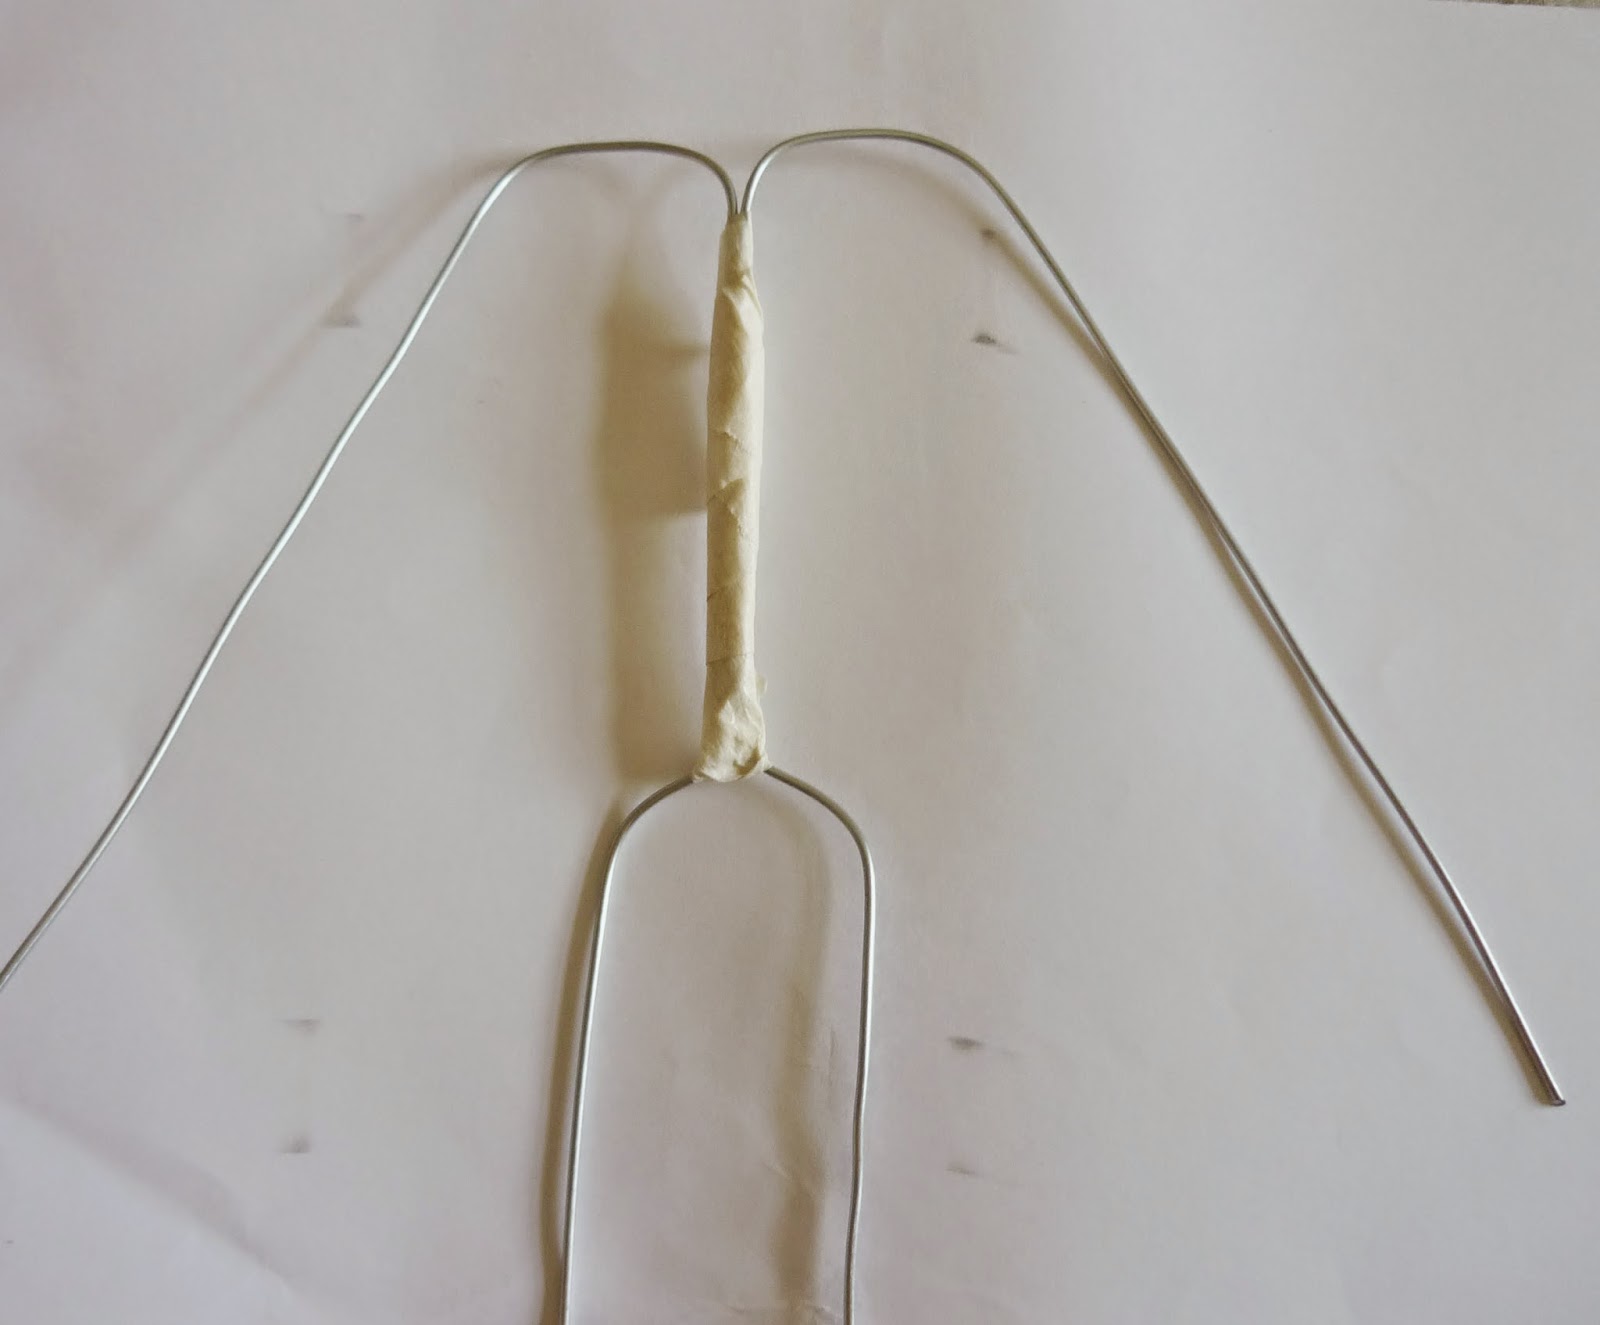
Cover the foil ball with masking tape or white floral tape.

Roll out a sheet of clay and cover your ball with the clay.  Roll it around on a flat surface so that all air bubbles are removed and smooth away any joins.  I am using porcelain coloured Fimo Puppen here.  

These are the tools I used for sculpting this doll.  A wooden tool and two small plastic sculpting tools. I also have my craft knife for removing any bits that get in the clay.

Once you have enough clay to make the ball into an egg shape, mark out where the eyes, nose and mouth will sit.

Use the large wooden tool to push two holes into the clay where you will put your eyeballs.

Insert your eyeballs into the holes and push them in about half way.  I have used clear glass beads here as this was all I could get at the time.  You can use other beads or pre baked clay balls or pre made eyes.

Push the clay in around the edge of the eyes to secure the beads in place to stop them wandering as you sculpt.

Make two balls of clay the same size (about the size of your beads) and roll them into discs.
Cut each disc in half.

Cover your beads about half way down with one half of the disc.

Put the other half of the disc on the lower half of the eyes.

Press your tool into the clay around the eye balls (they look a bit like bags now).

And begin to blend the clay into the head, pushing upwards on the upper lid and down on the lower lid to open the eyes up a bit.

Keep blending til they look like this.

Place a blob of clay where the nose will go.  (Looks like Squidward).

Blend outwards and into the face.

Keep blending.
Roll out two large balls of clay and flatten theme out into elongated circles.

Place them over the nose and mouth area and overlap them.

Blend into the lower eye area, sides of face, jaw and nose.  Use your fingers to push the clay down to flatten out the face either side of the nose and under the nose.

Should look like this.


Add a small ball of clay to the end of the nose.

Like this.

Blend

Blend

Add a flattened ball of clay under the nose.

Blend up and out, leaving a little shelf underneath.

Use your tool to create the lip shape and the philtrum. 


Pull the upper lip outwards slightly to allow the lower lip to slot in underneath.

Slot in another blob of clay for the bottom lip and push up under the top lip, shape the bottom lip.  Use a tool to push in at the corners of the mouth.


Roll out a large ball of clay and flatten it.  Place it over the brow area and cover the upper eyelids slightly.

Use the tool to create the bridge of the nose.  Push the clay around the eyelids to create the brow bones.

Blend the clay over the head, down the sides and create your eyelid area.

Place a couple of fat balls of clay onto the cheek area and blend them in around the mouth/chin area, under the eyes and round the sides of the head.


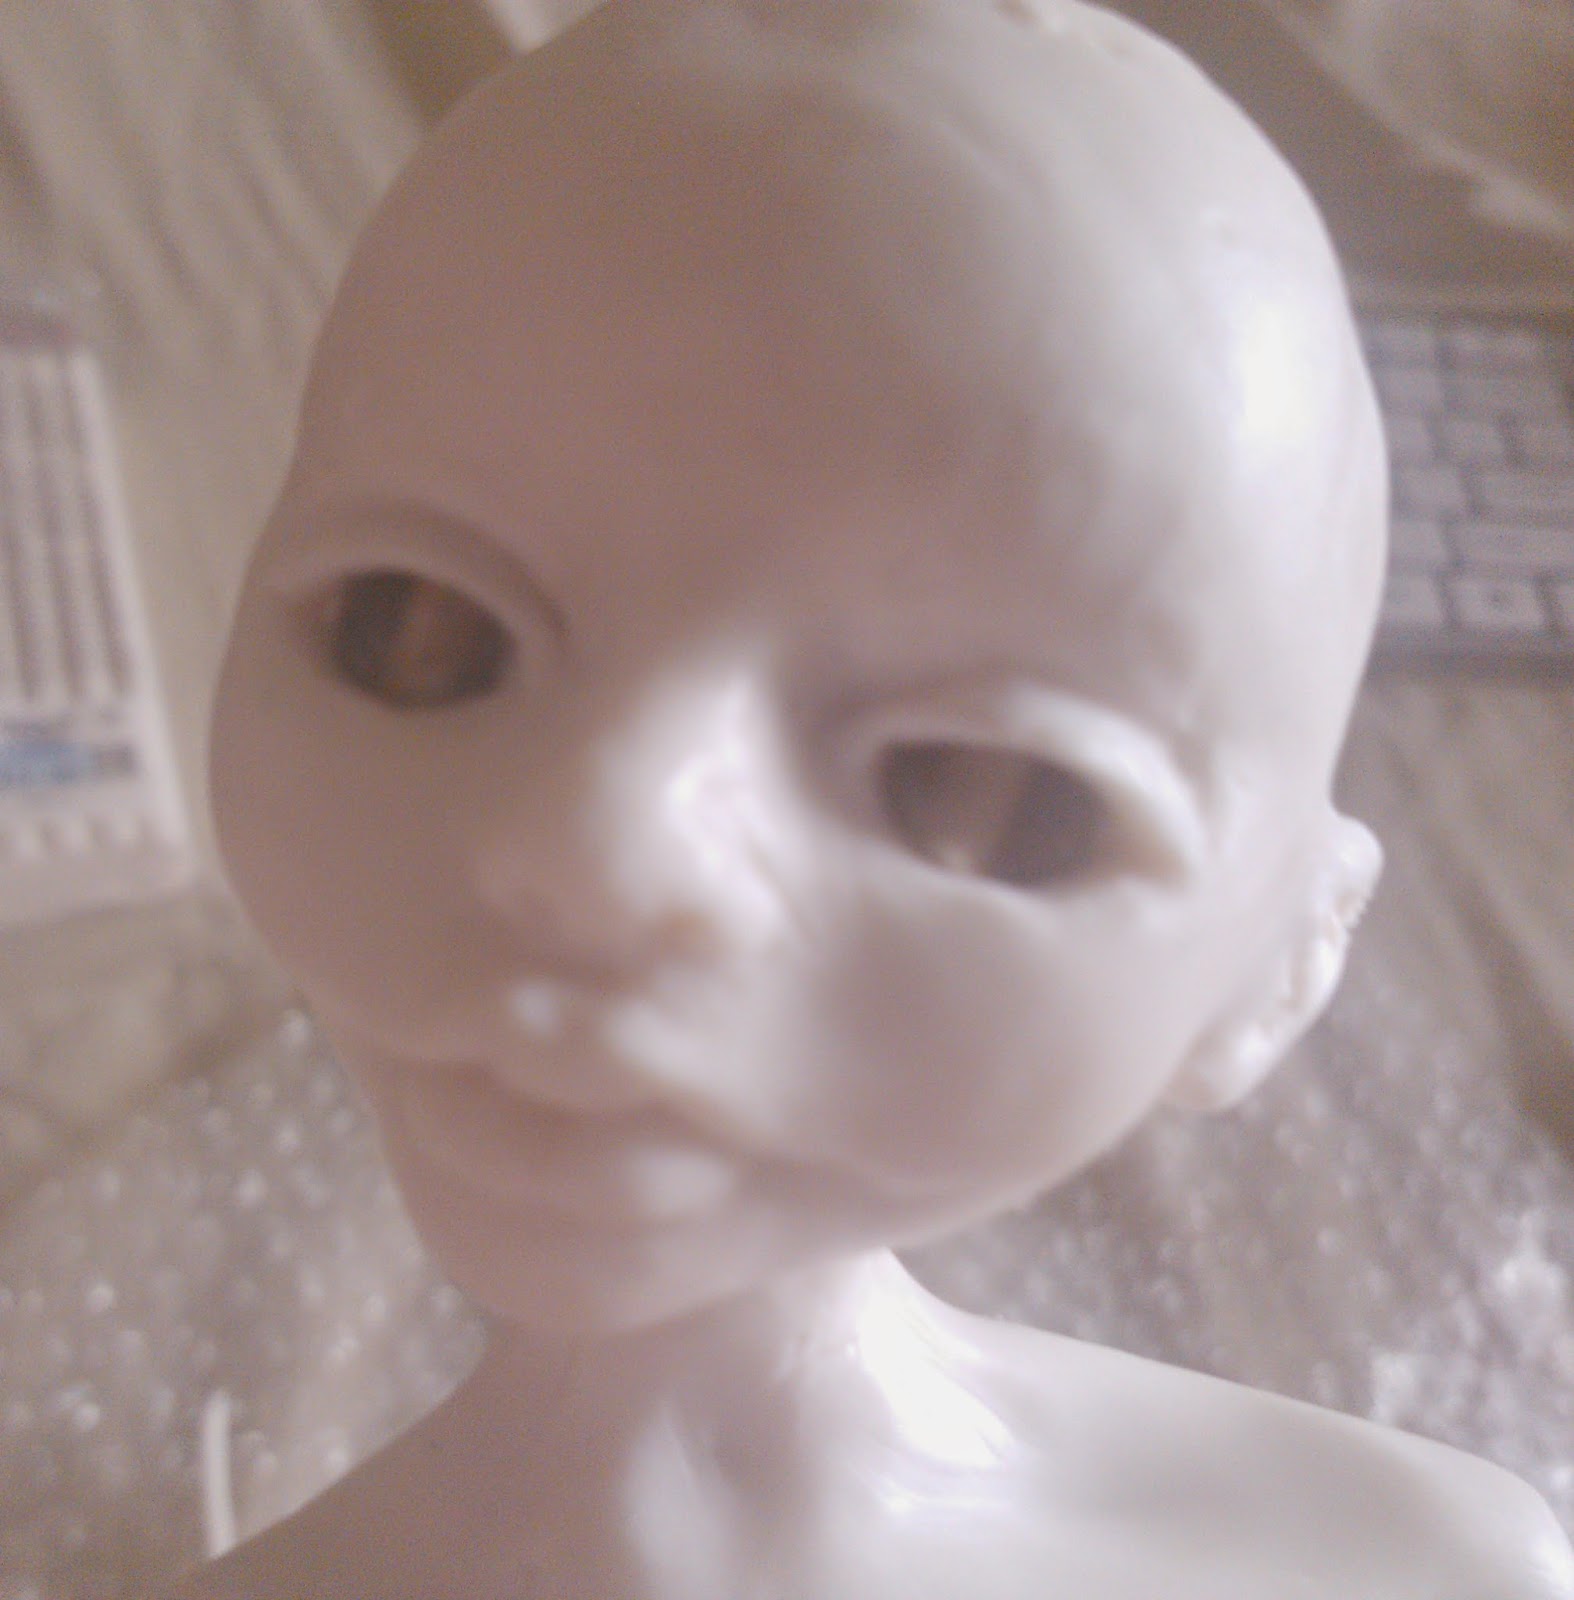
Should look like this when you are done. Chubby cheeks.  Mark in some nostrils too.  Use your tool to insert into the clay where you marked and then gently pull out sideways and up slightly.


Add a ball of clay to the chin, and blend in by rolling your tool to make a rounded area under the lower lip.


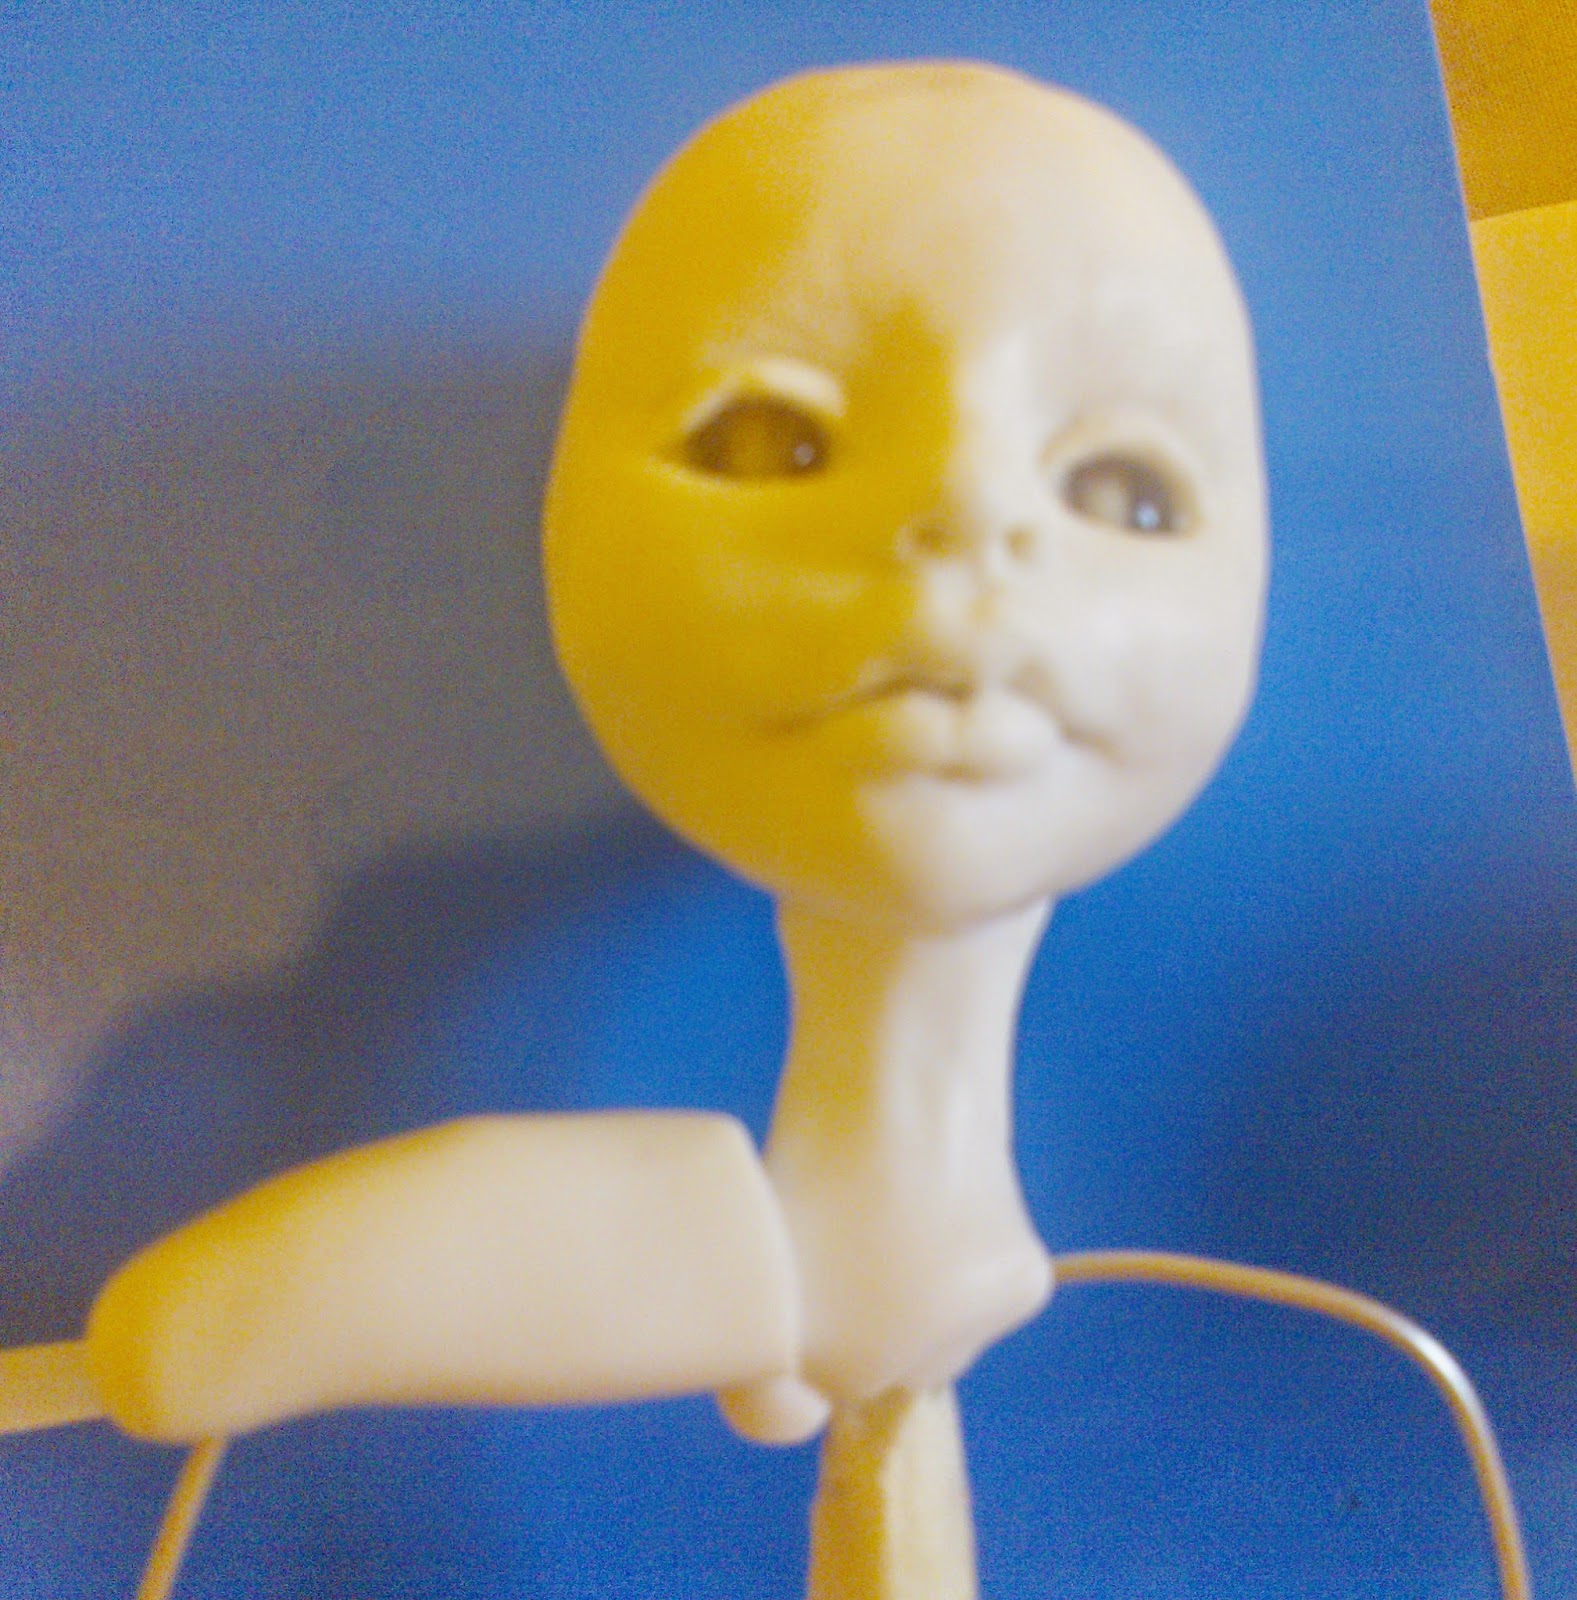
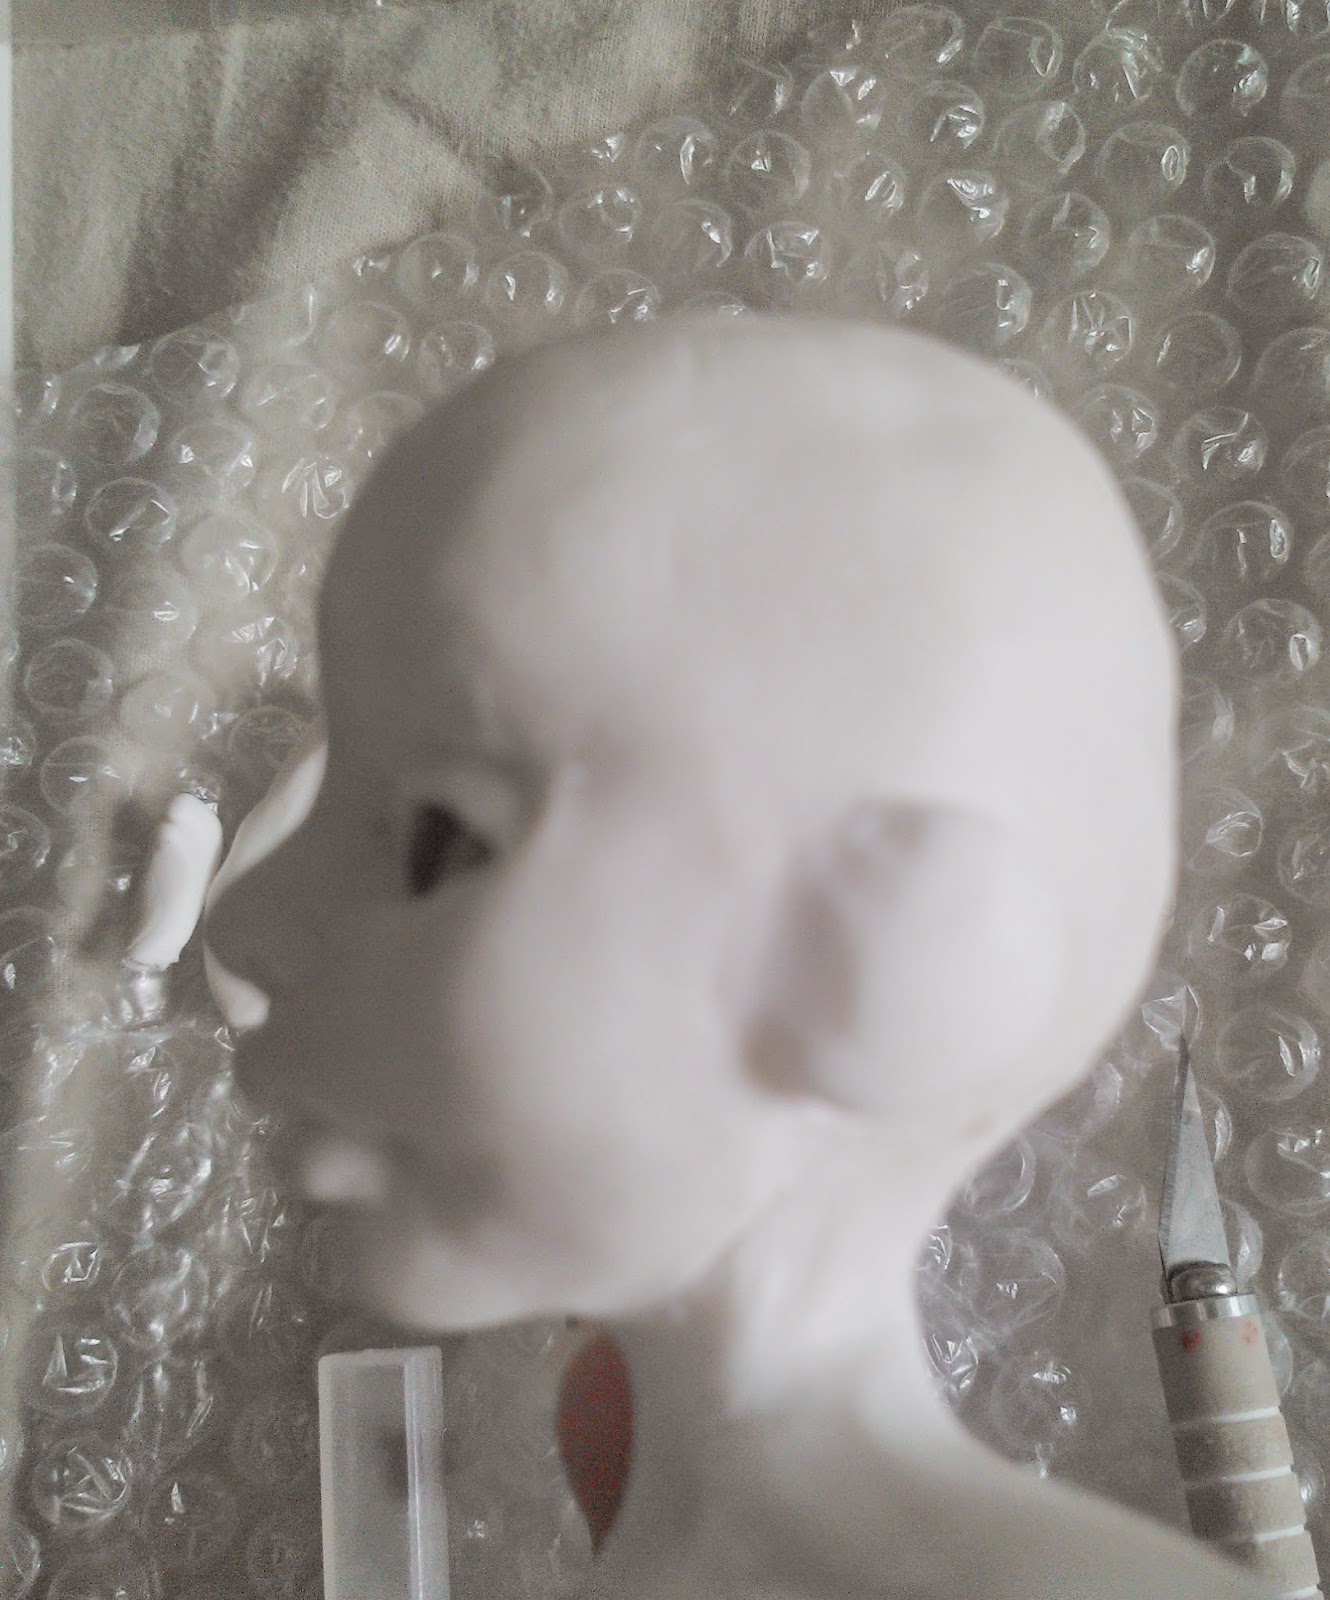
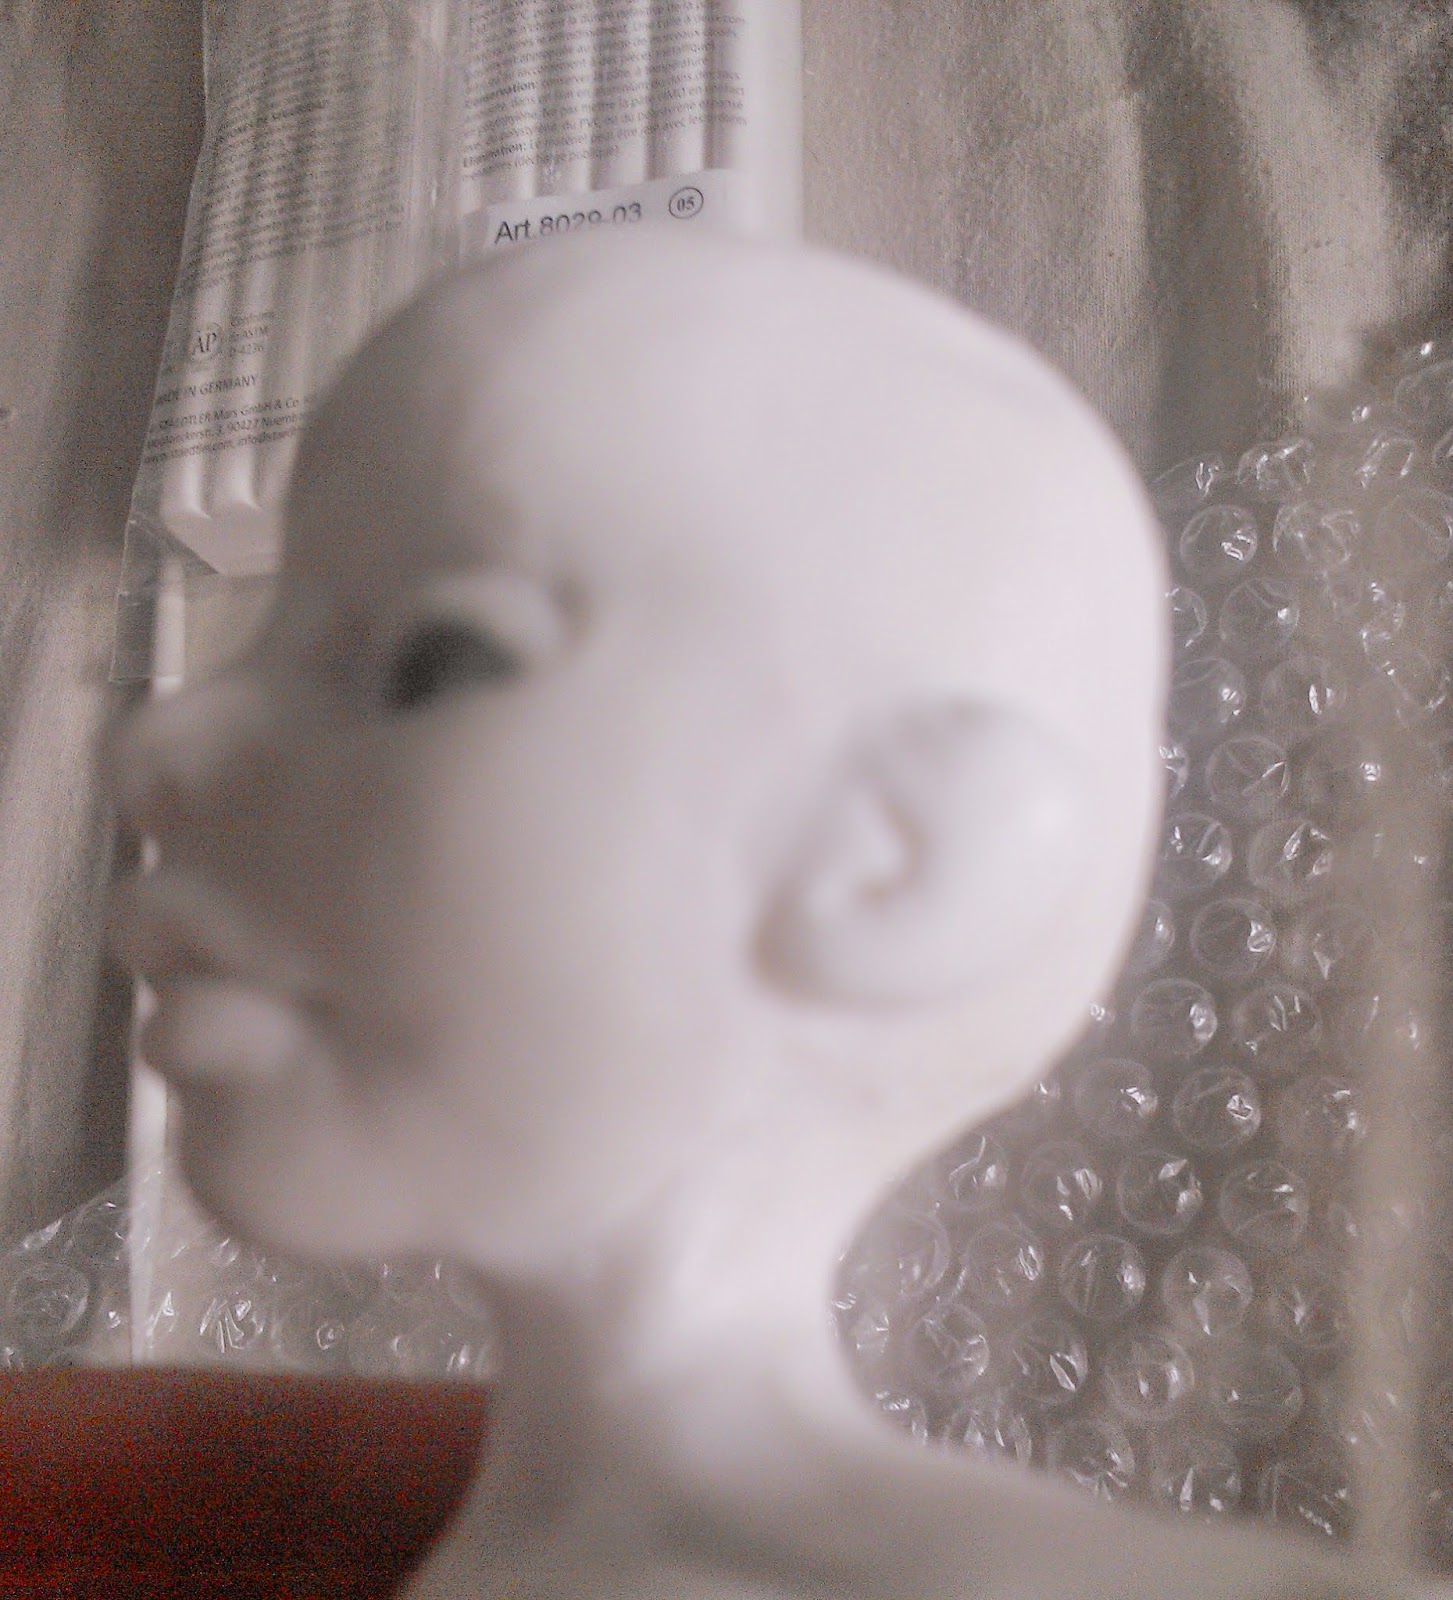
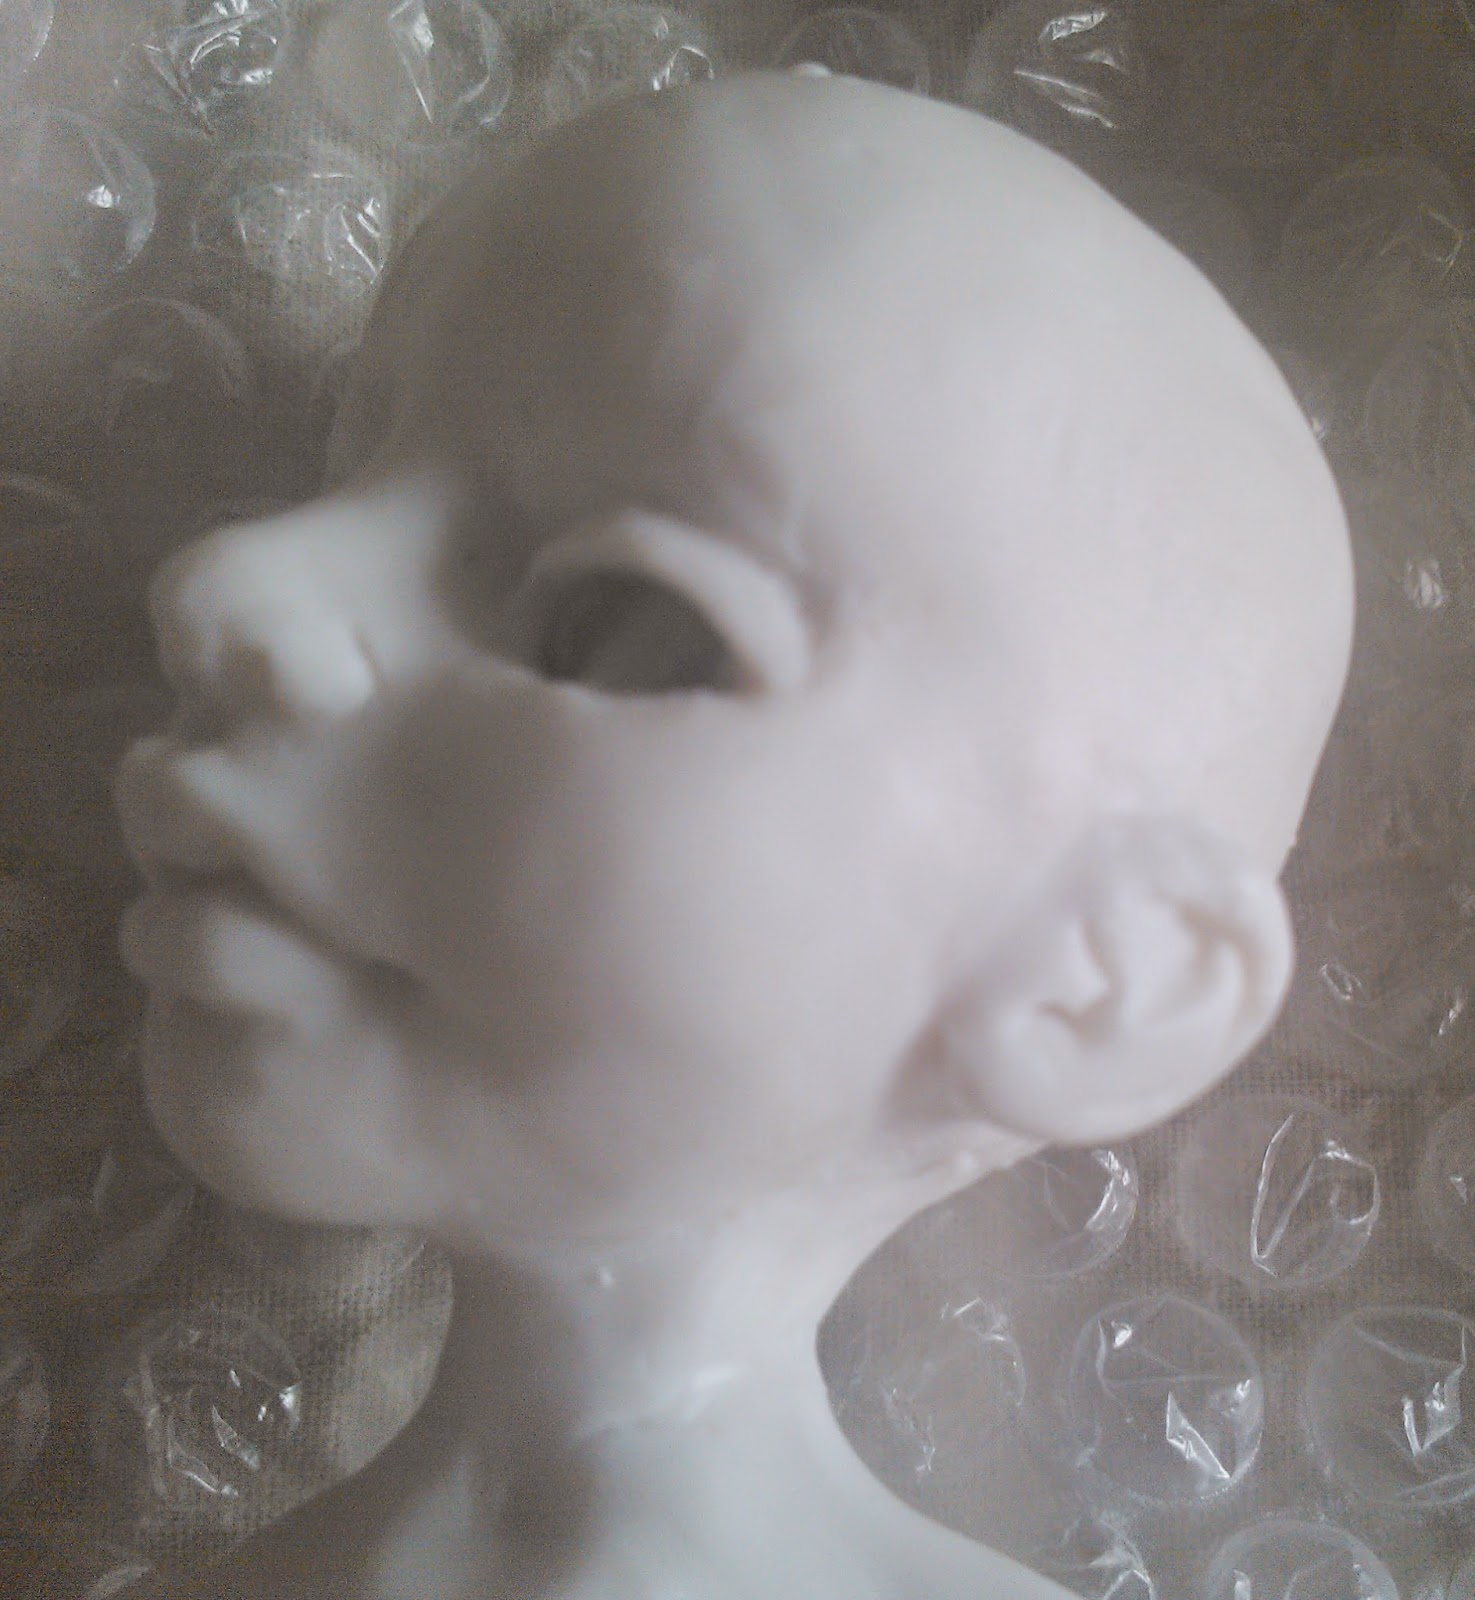
Check your profile, smooth out any dodgy/lumpy bits.  Leave it be and return to it in a couple of hours and look for any odd things you might have missed, or things you want to change.  

Make sure to push a hole at the base of the skull to insert the neck.


When ready you can bake the head.


Find out how to make the body and ears in Part Two