In this second part of my tutorial I show you how to create the body for your head created in Part One.

This is the wire I use for the armature. It is a garden wire, galvanised steel used for fencing.

Cut a length for the legs. How much you need depends on the height of the doll you are making.

Fold in half.
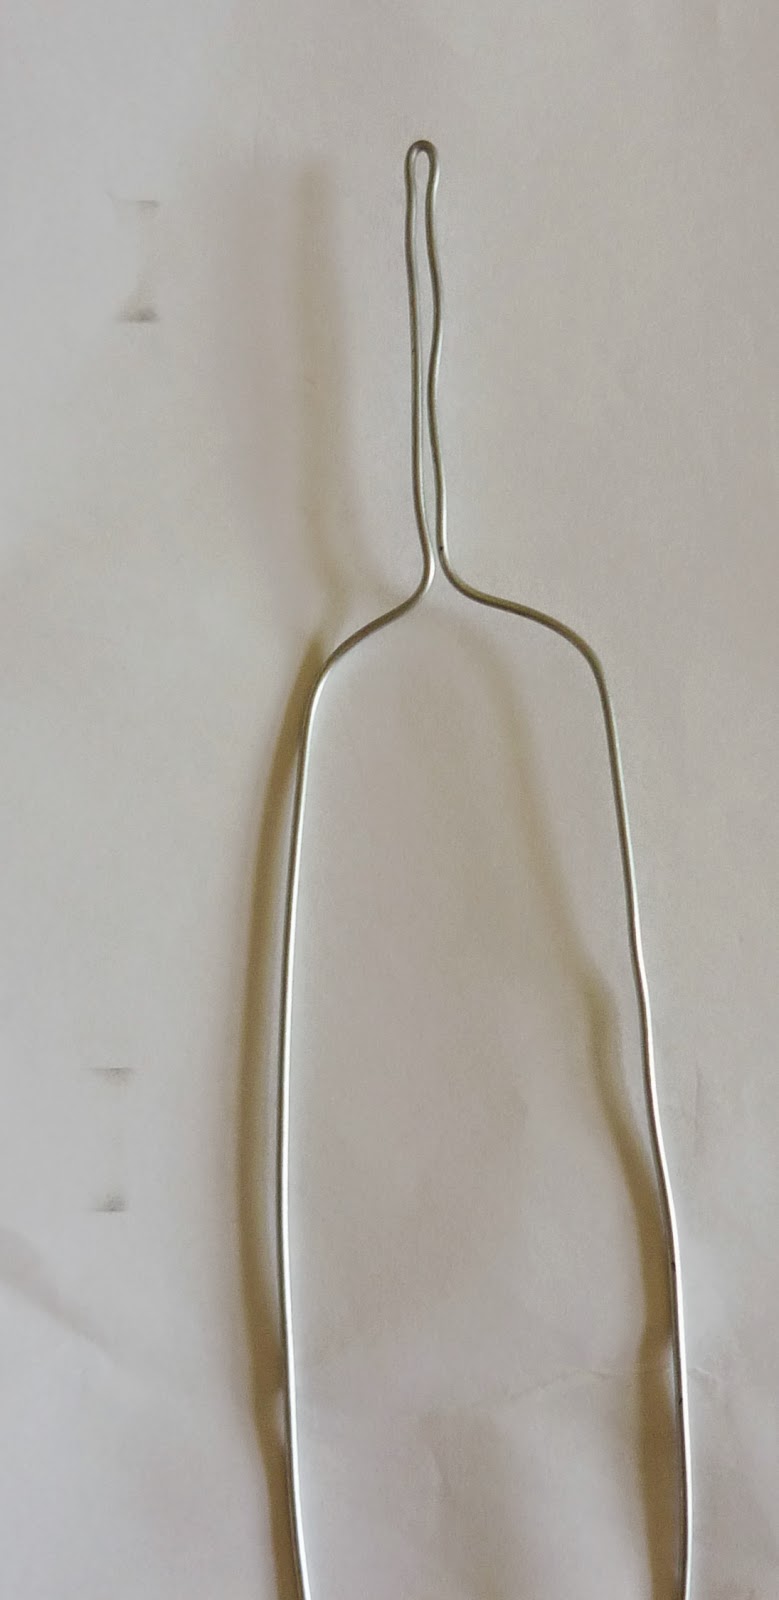
About one inch down from the top, bend both sides out about half an inch, then bend down to create legs.

For the arms, do the same thing only upside down.
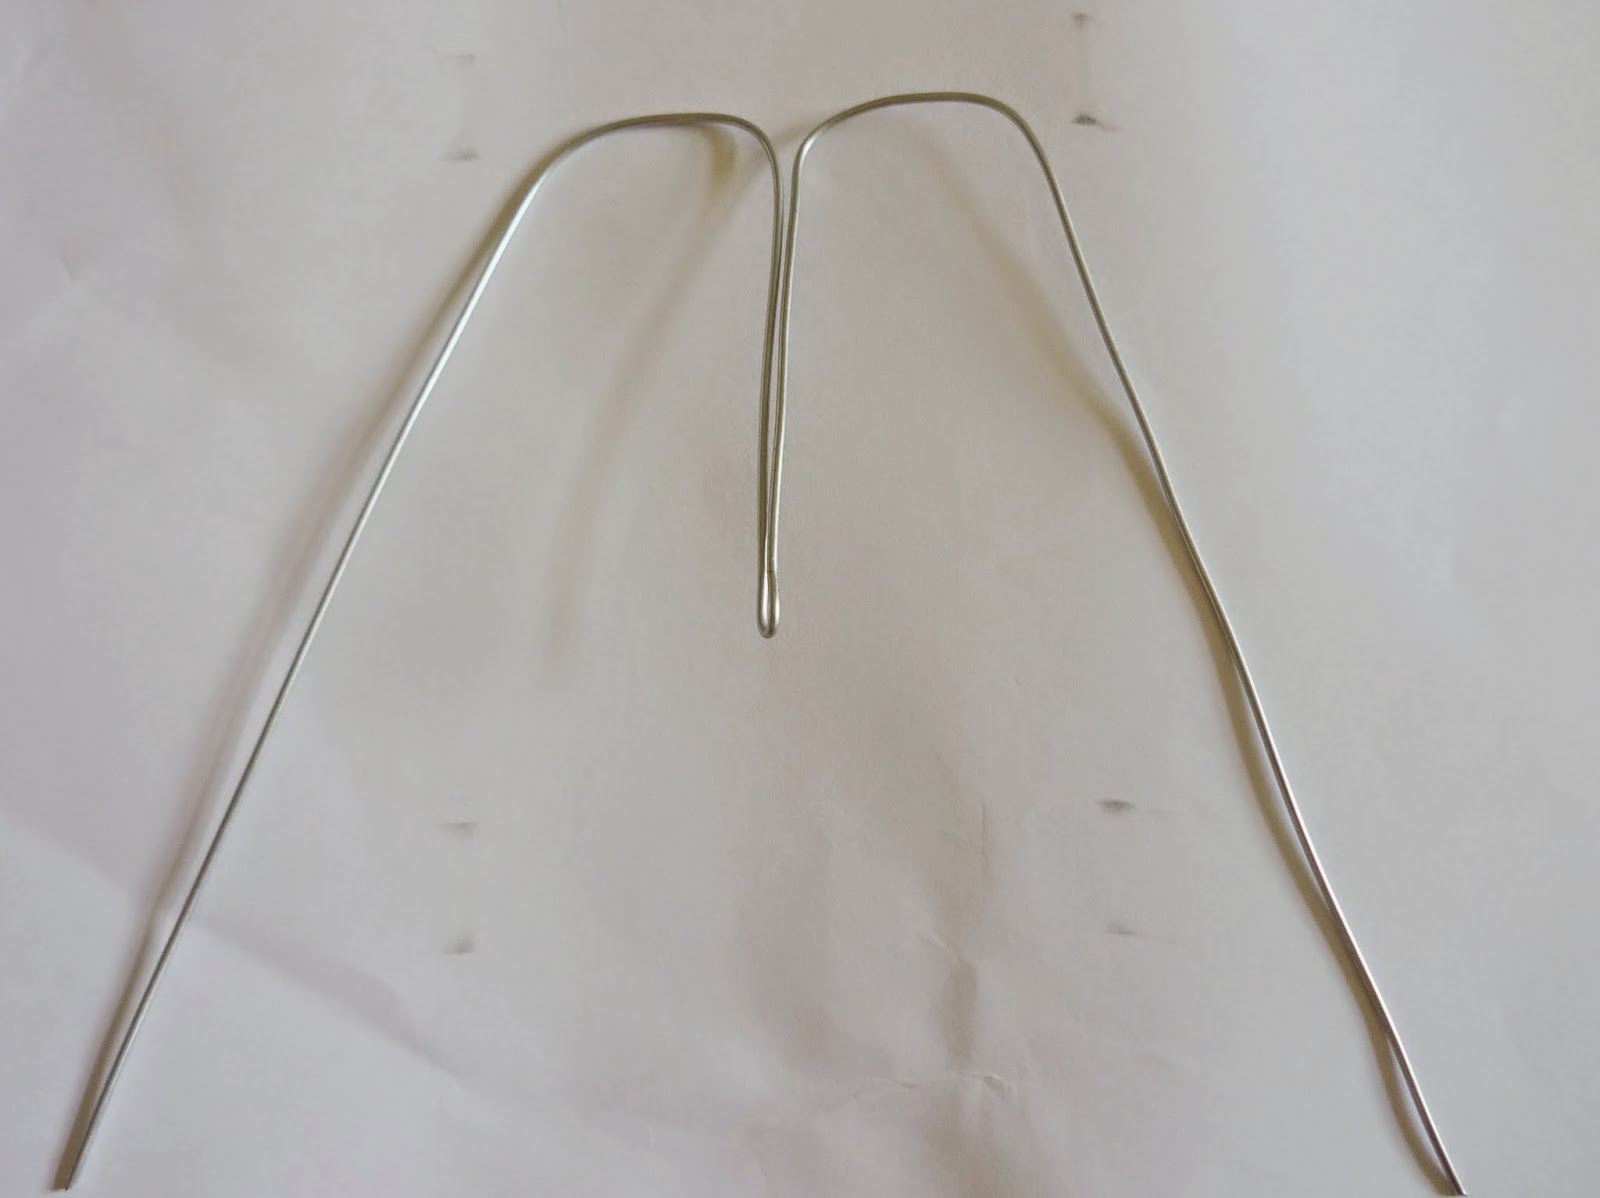
Bring down the arms.

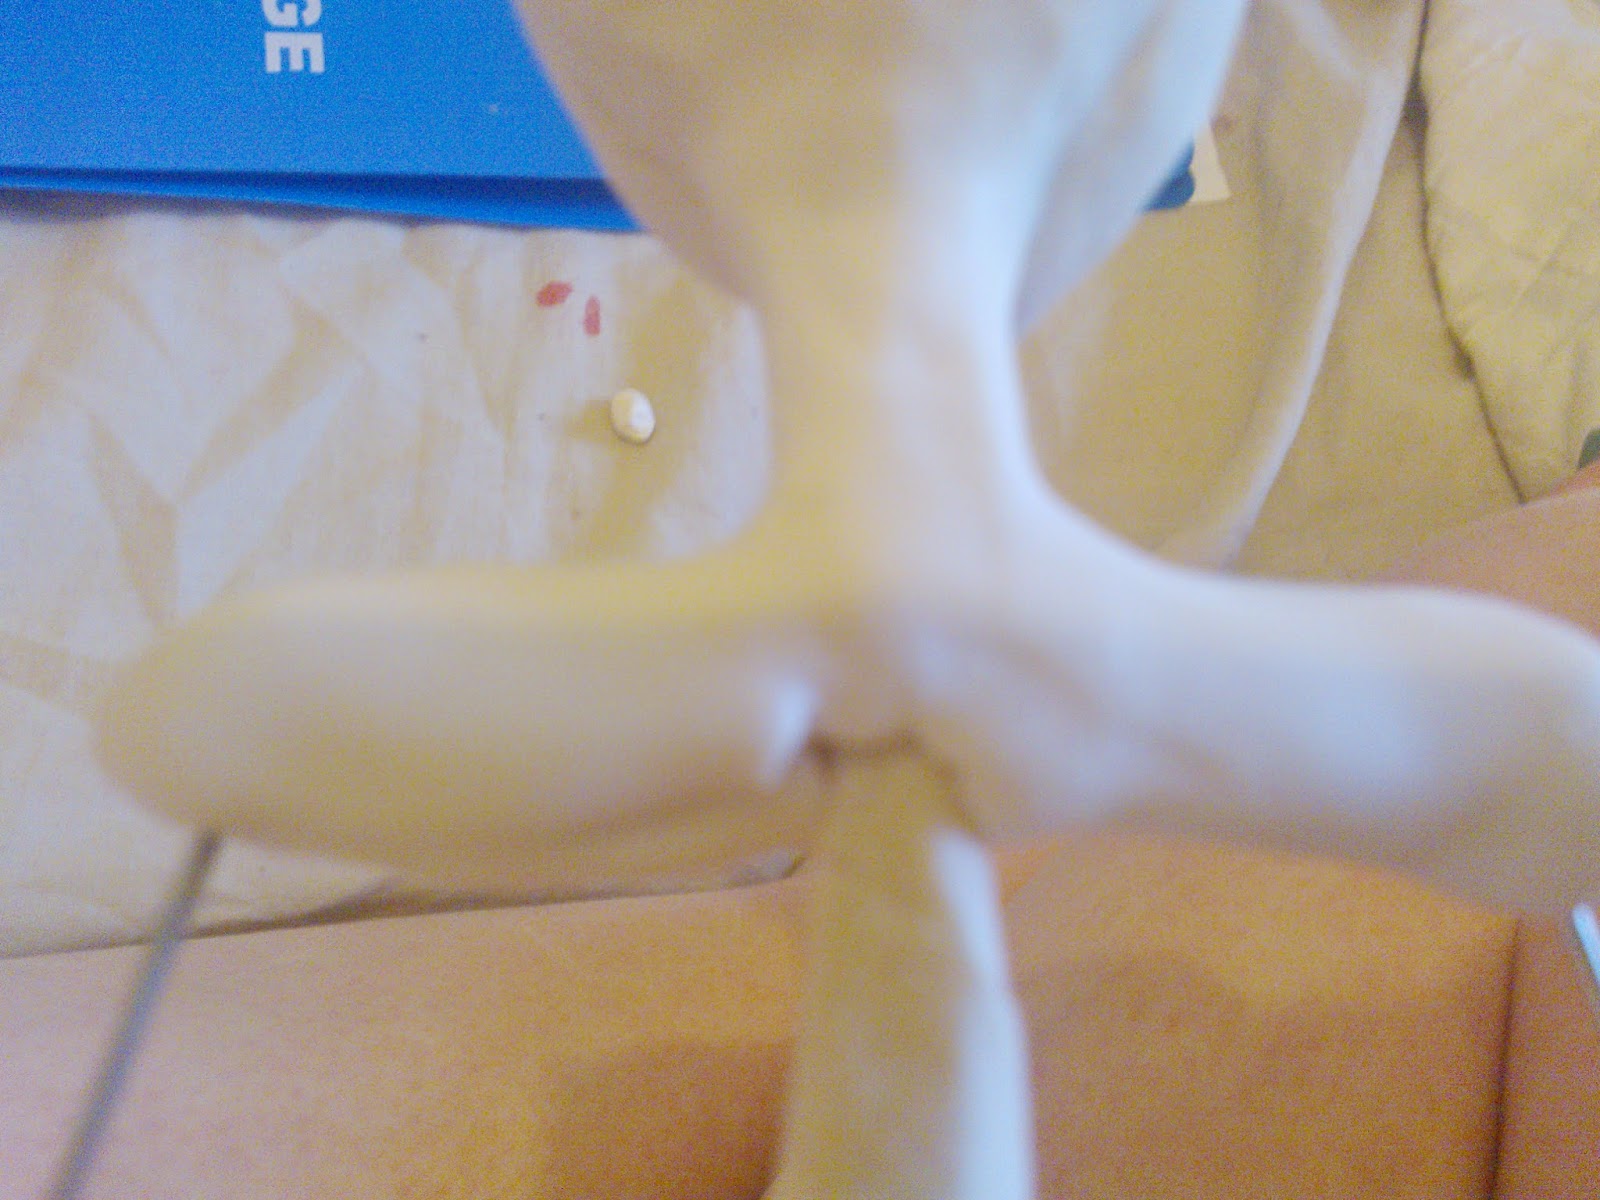
Join the two middle bits together as shown.
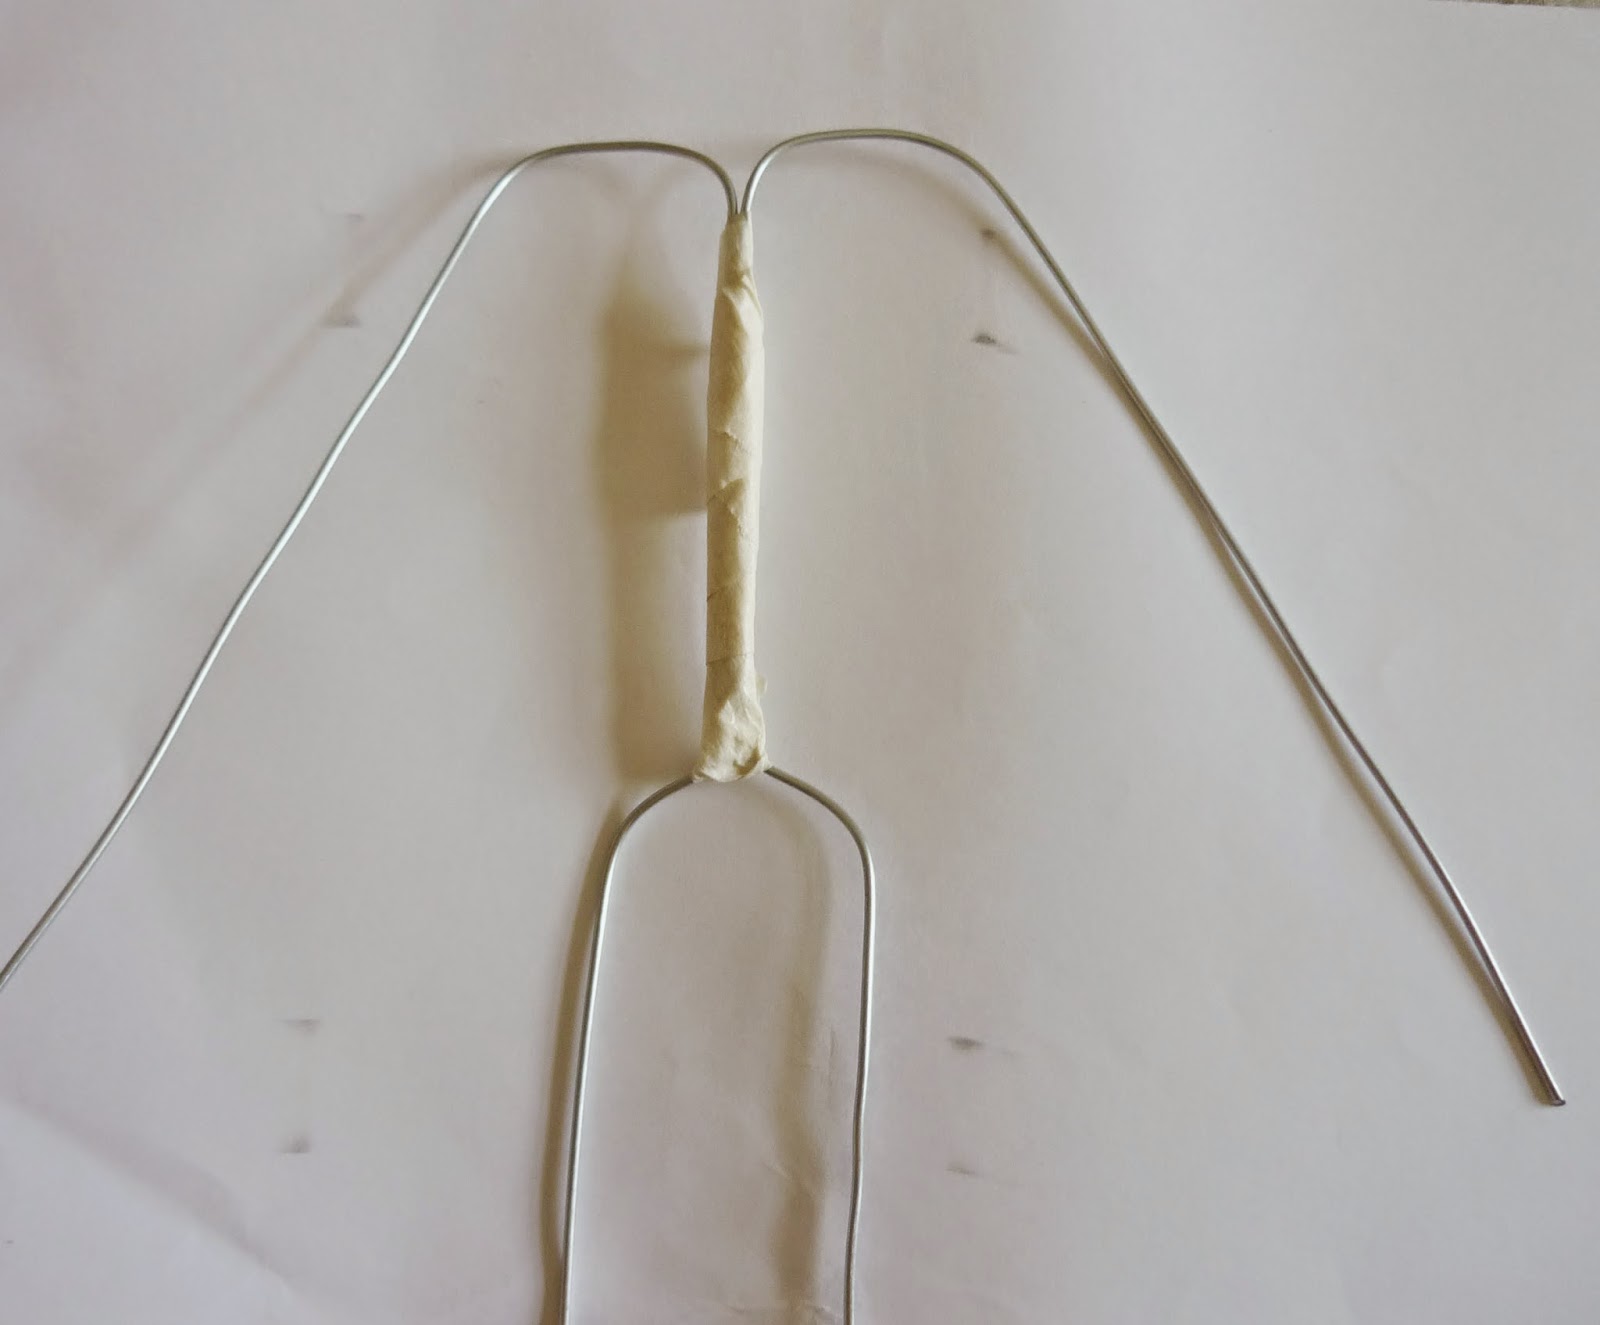
Use tape or wire to join them together.

Securely attach the neck wire to the main torso with more tape or wire.

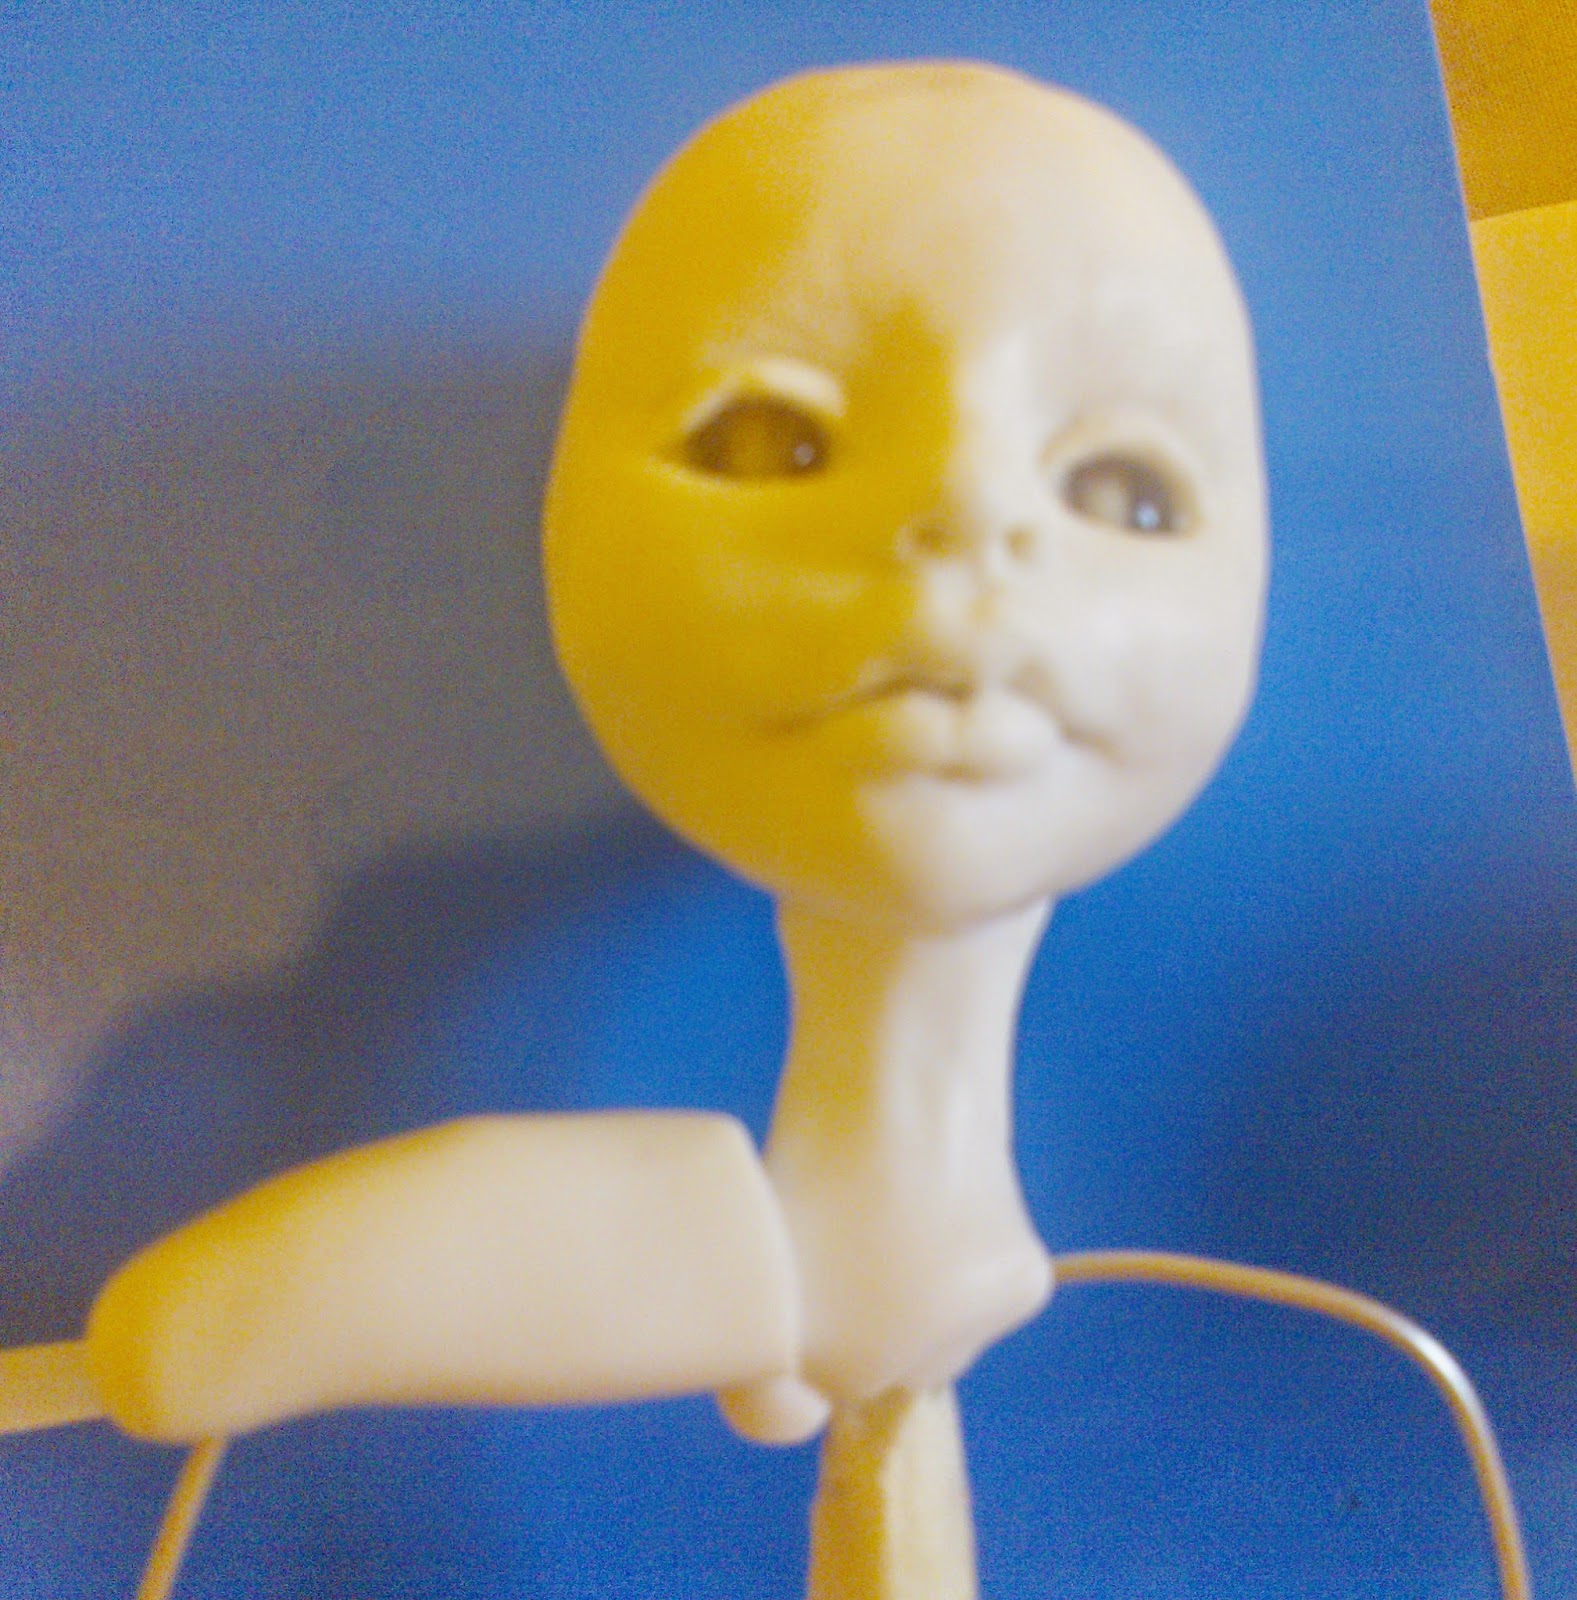
Put a tube of clay around the neck and blend into the head.

Rolls out a tube of clay as wide as the shoulders on your doll.

Cut in half.
Press each piece onto the armature at the shoulders. Blend into the neck.
Blend into the neck and other shoulder.

Use more foil to pad out the body. Shape your torso using the foil, chest pelvis etc. Cover with tape when finished.

Cover the body with clay and blend into the shoulders and neck. If your neck is too thin add clay to thicken it.
Roll two small balls of clay.

Flatten and place onto the head.
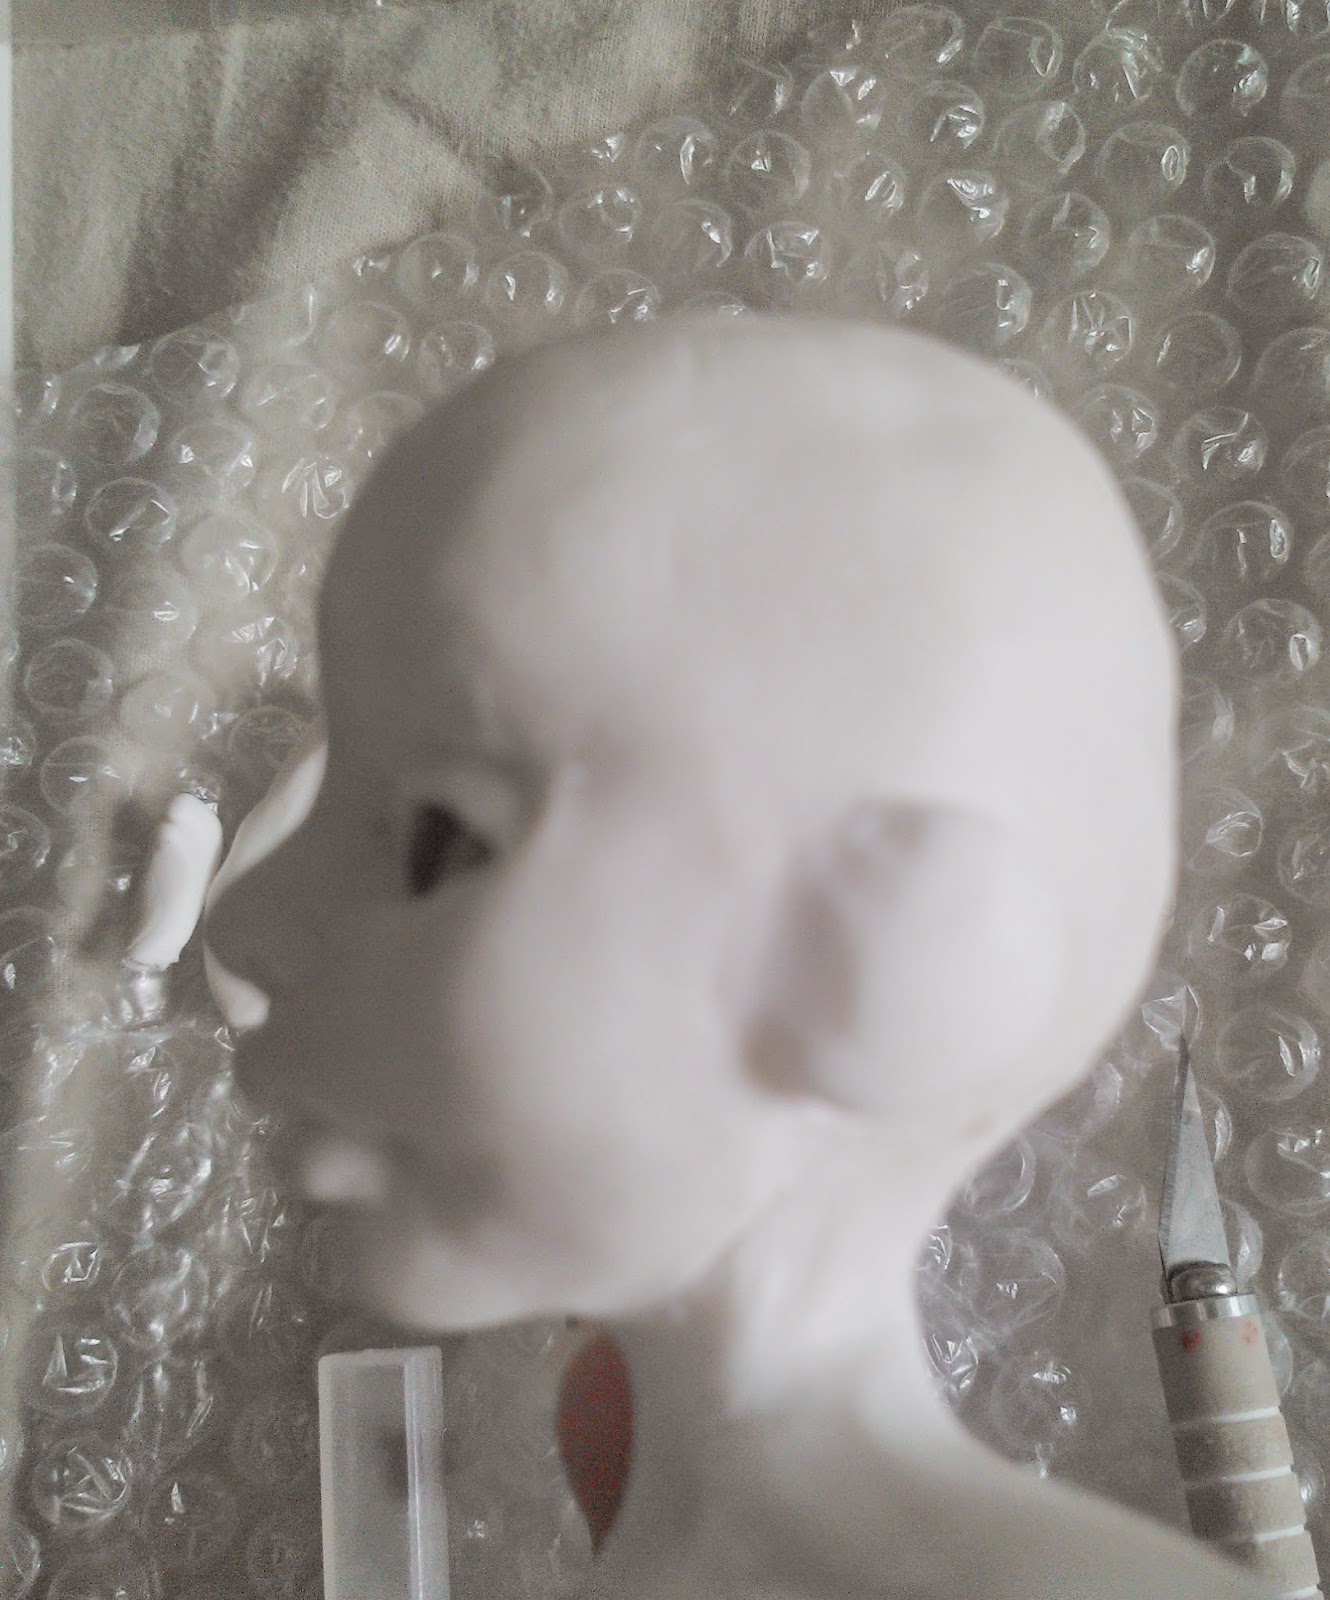
Blend in towards the face.
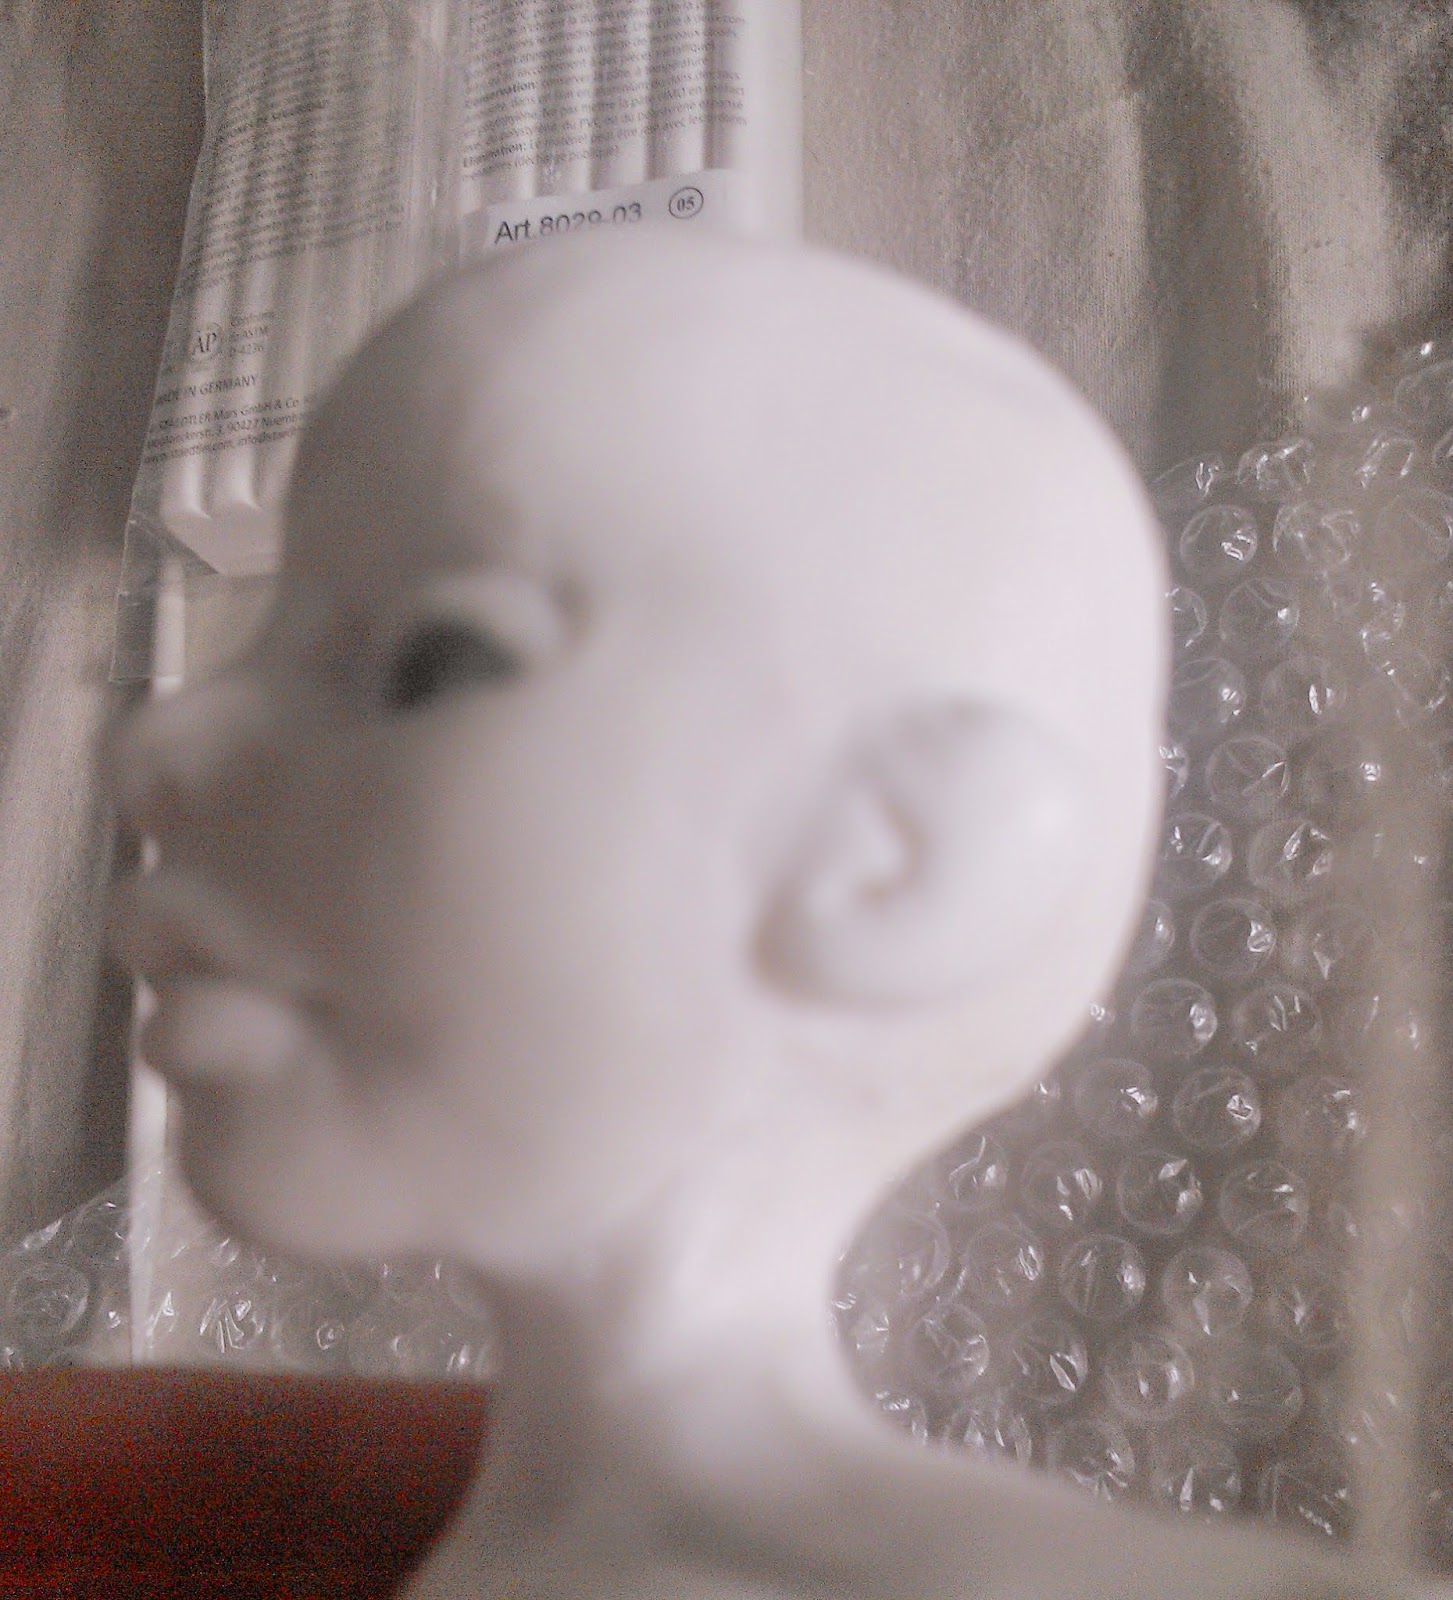
Create a small C shape.

Draw a line around the outer edge of the ear.
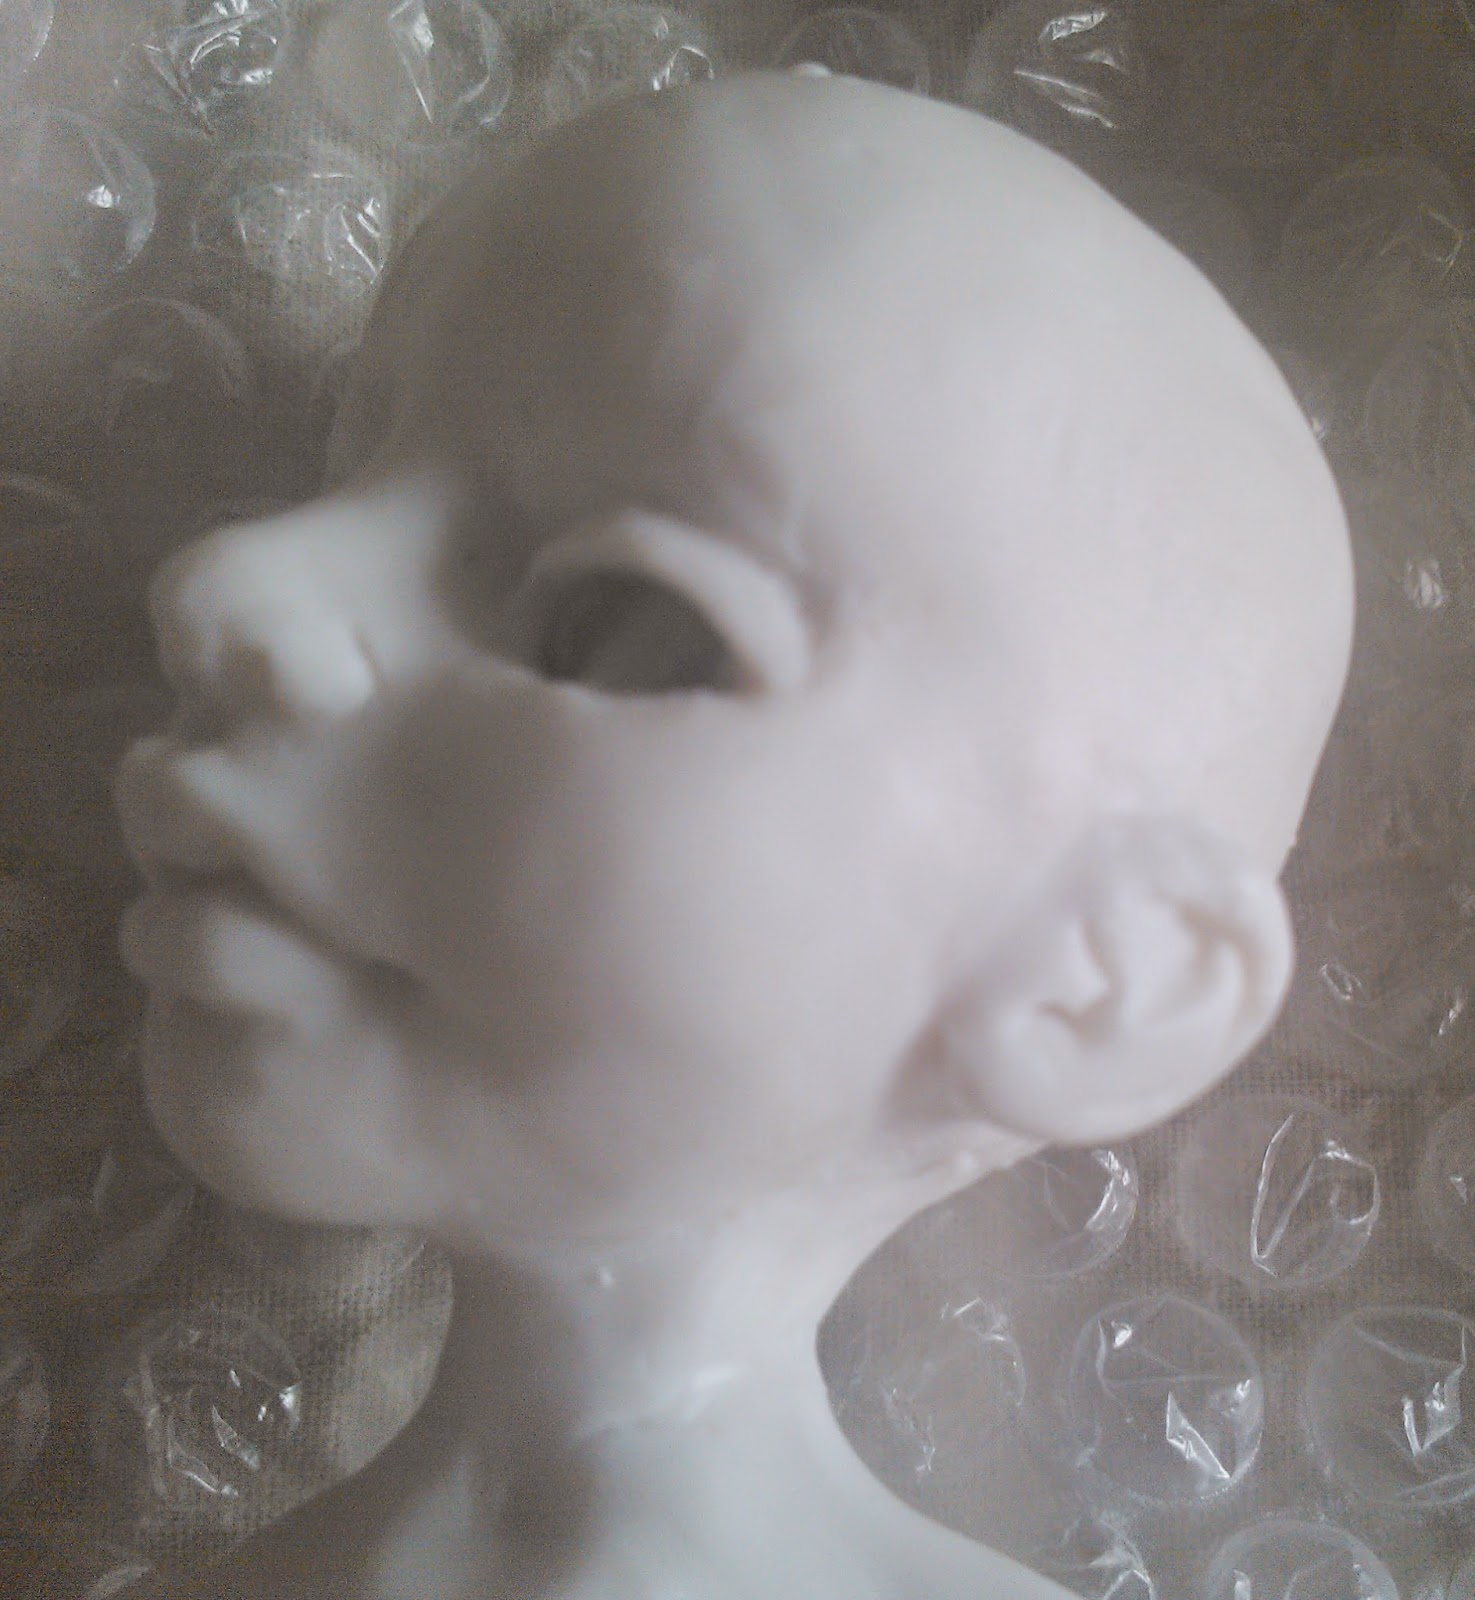
Create a dent towards the top of the ear near the outer edge.
Do the same on both sides of the head.

Roll two large balls of clay.

Create rods.

Shape into a sort of club type shape.
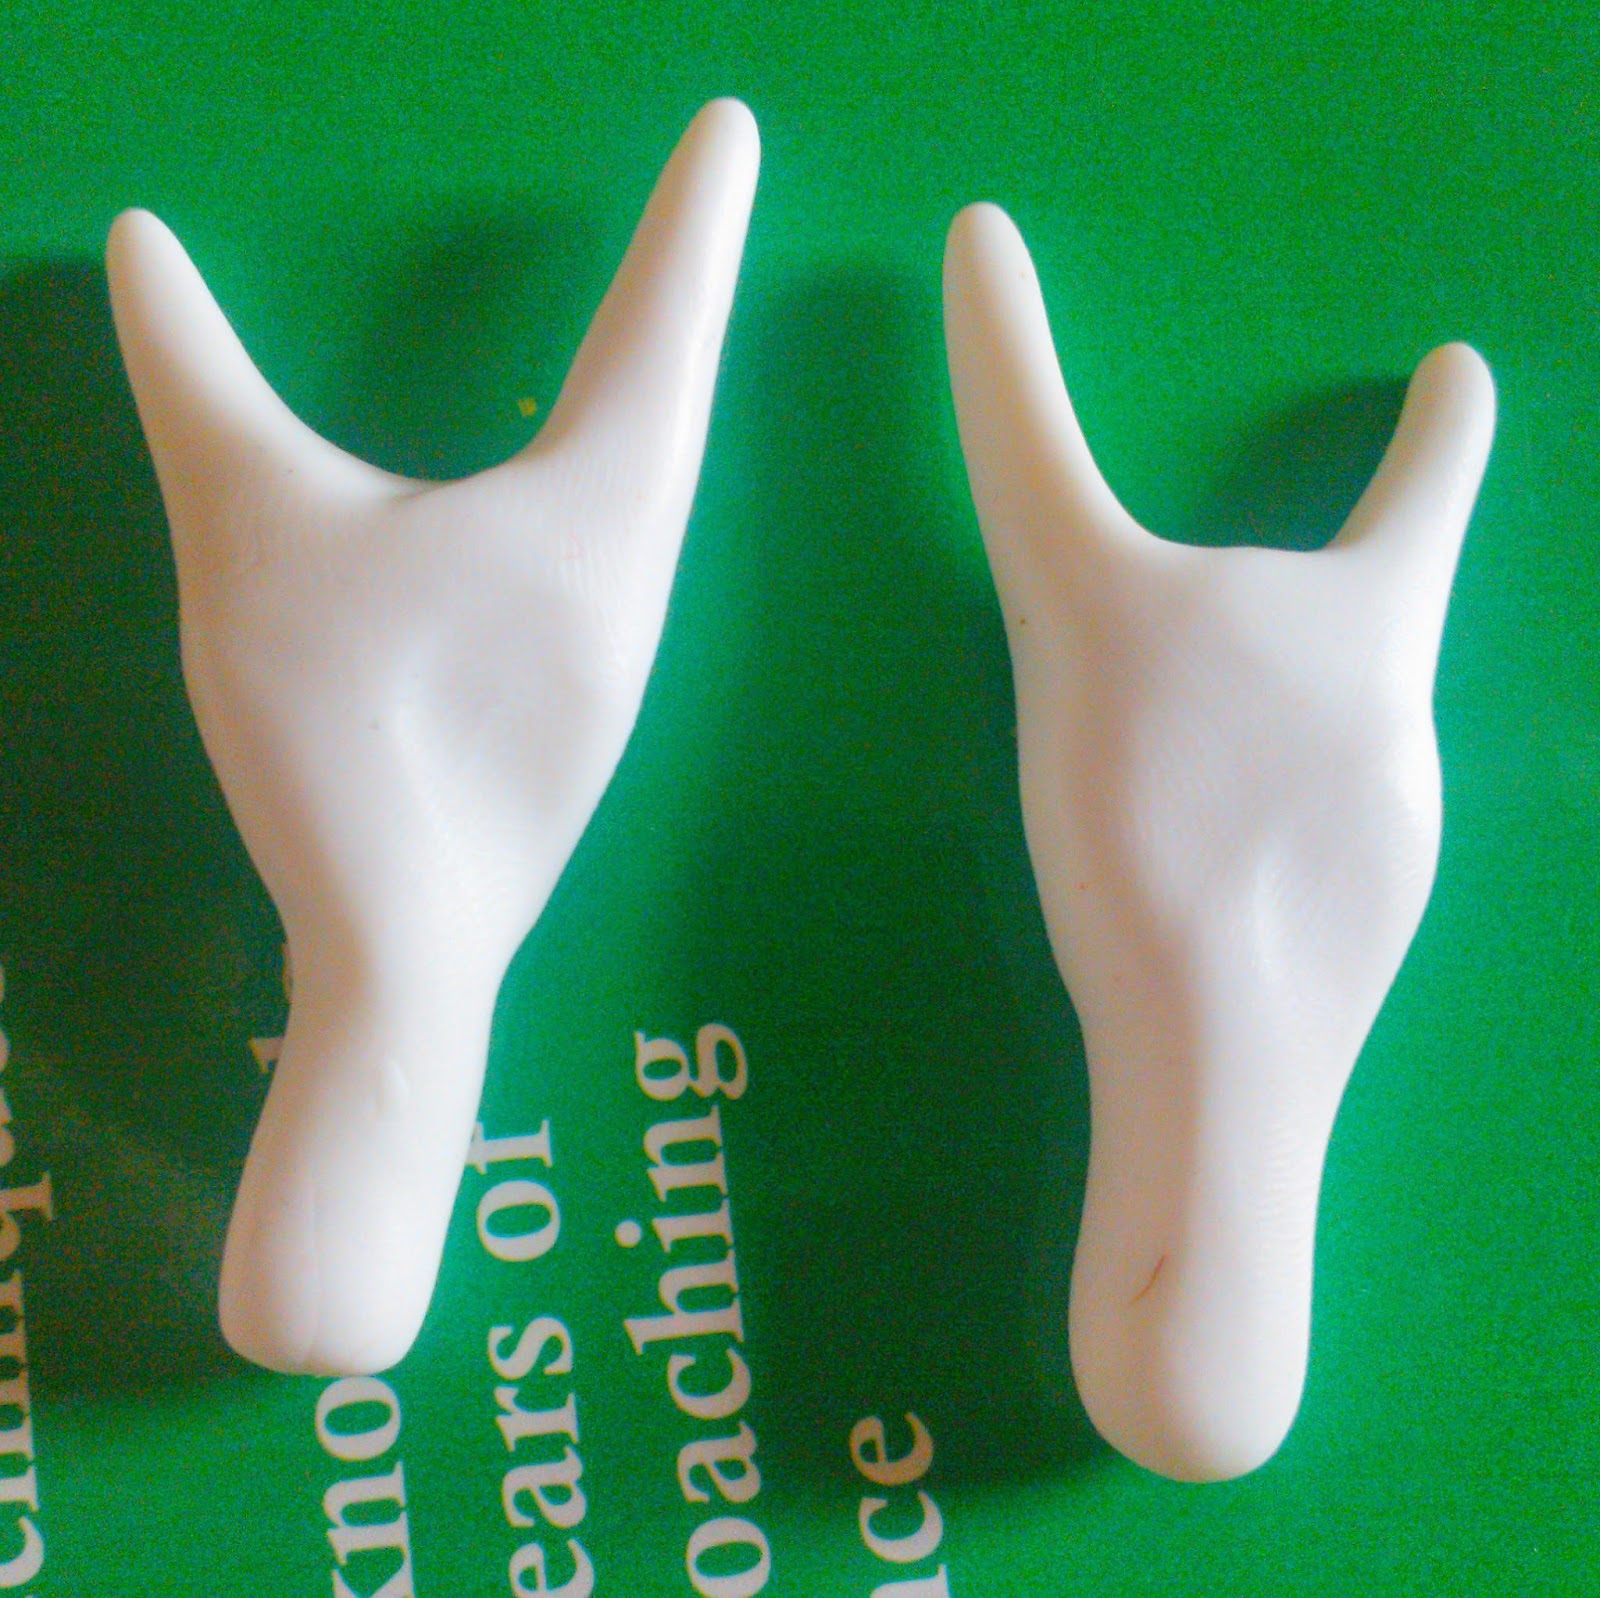
Pinch and roll the edge of the clubs to create the forefinger and pinky. Try to create a hand shape.

Roll a long rod of clay.

Cut into small rods to make fingers.
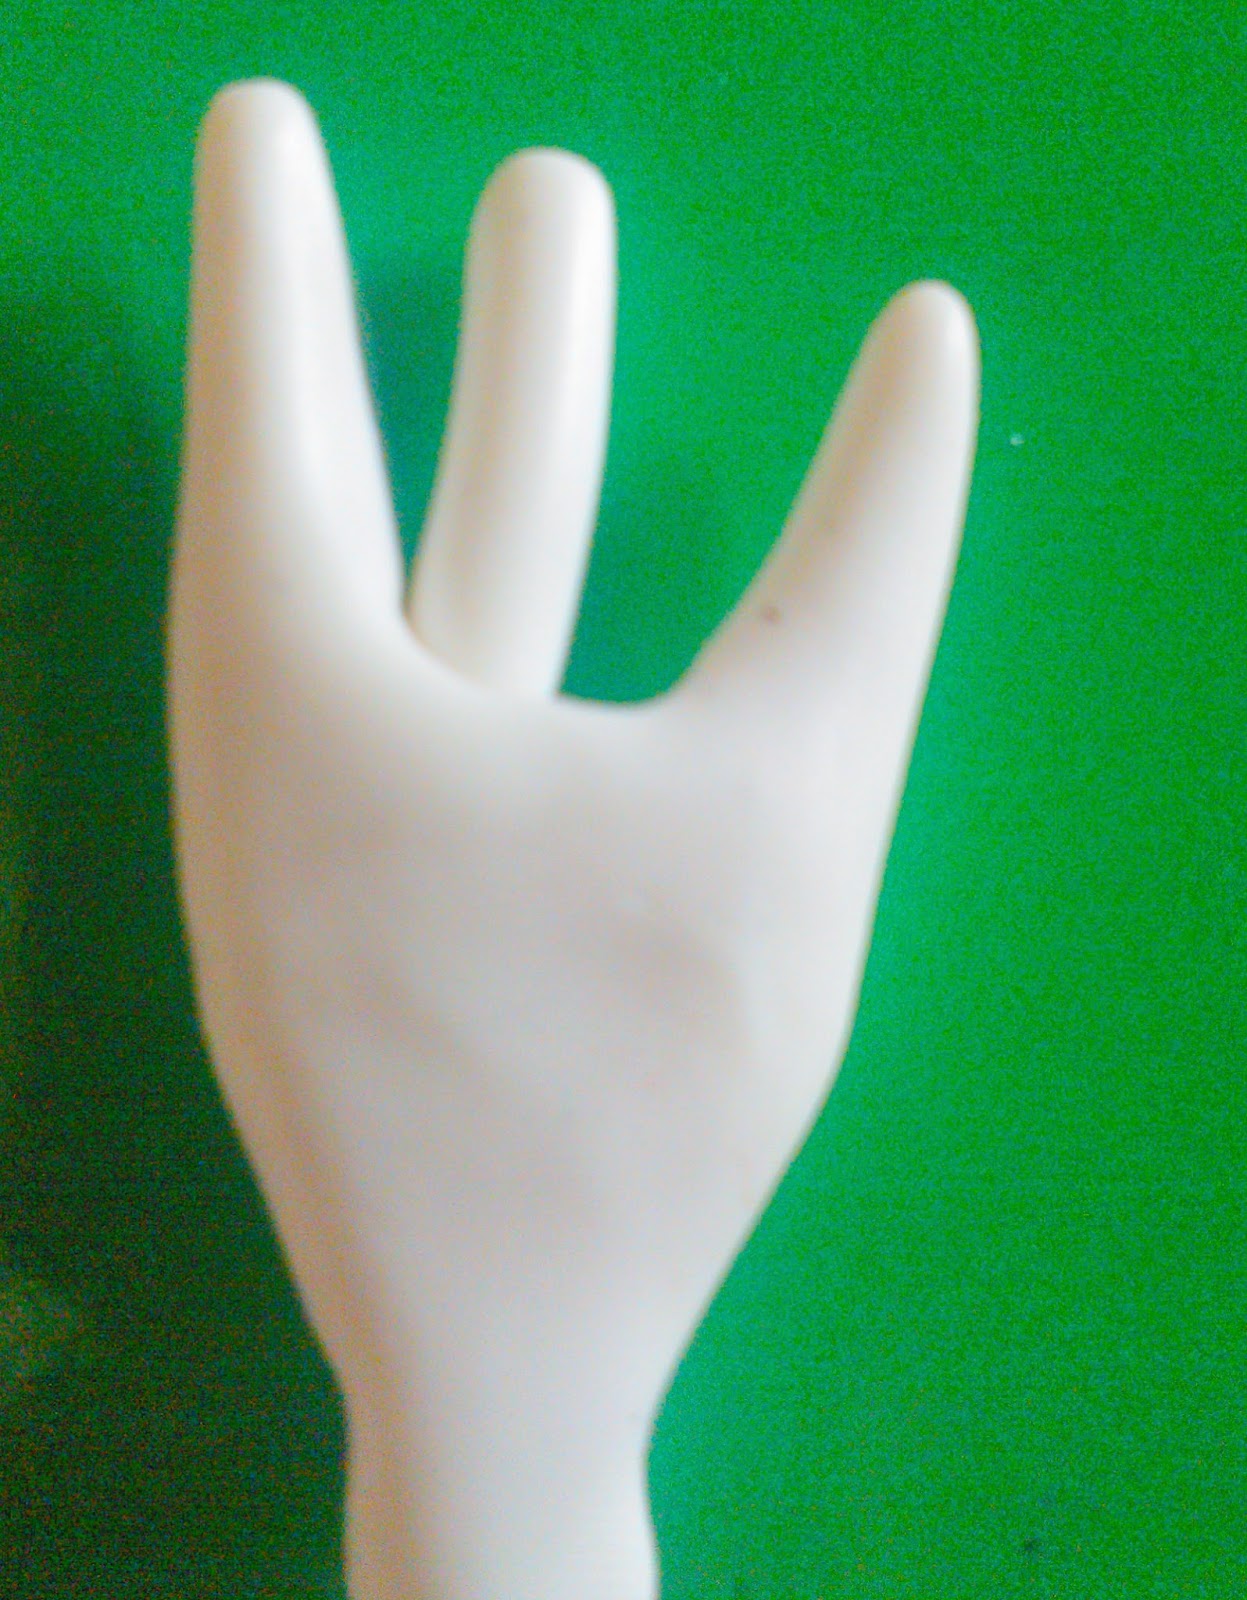
Attach to the hand in between the existing fingers. Blend into the clay.
Unfortunately this is where I stopped photographing my progress.
I don't make my hands this way now as it is quite fiddly. There are plenty of good tutorials out there on how to make hands.

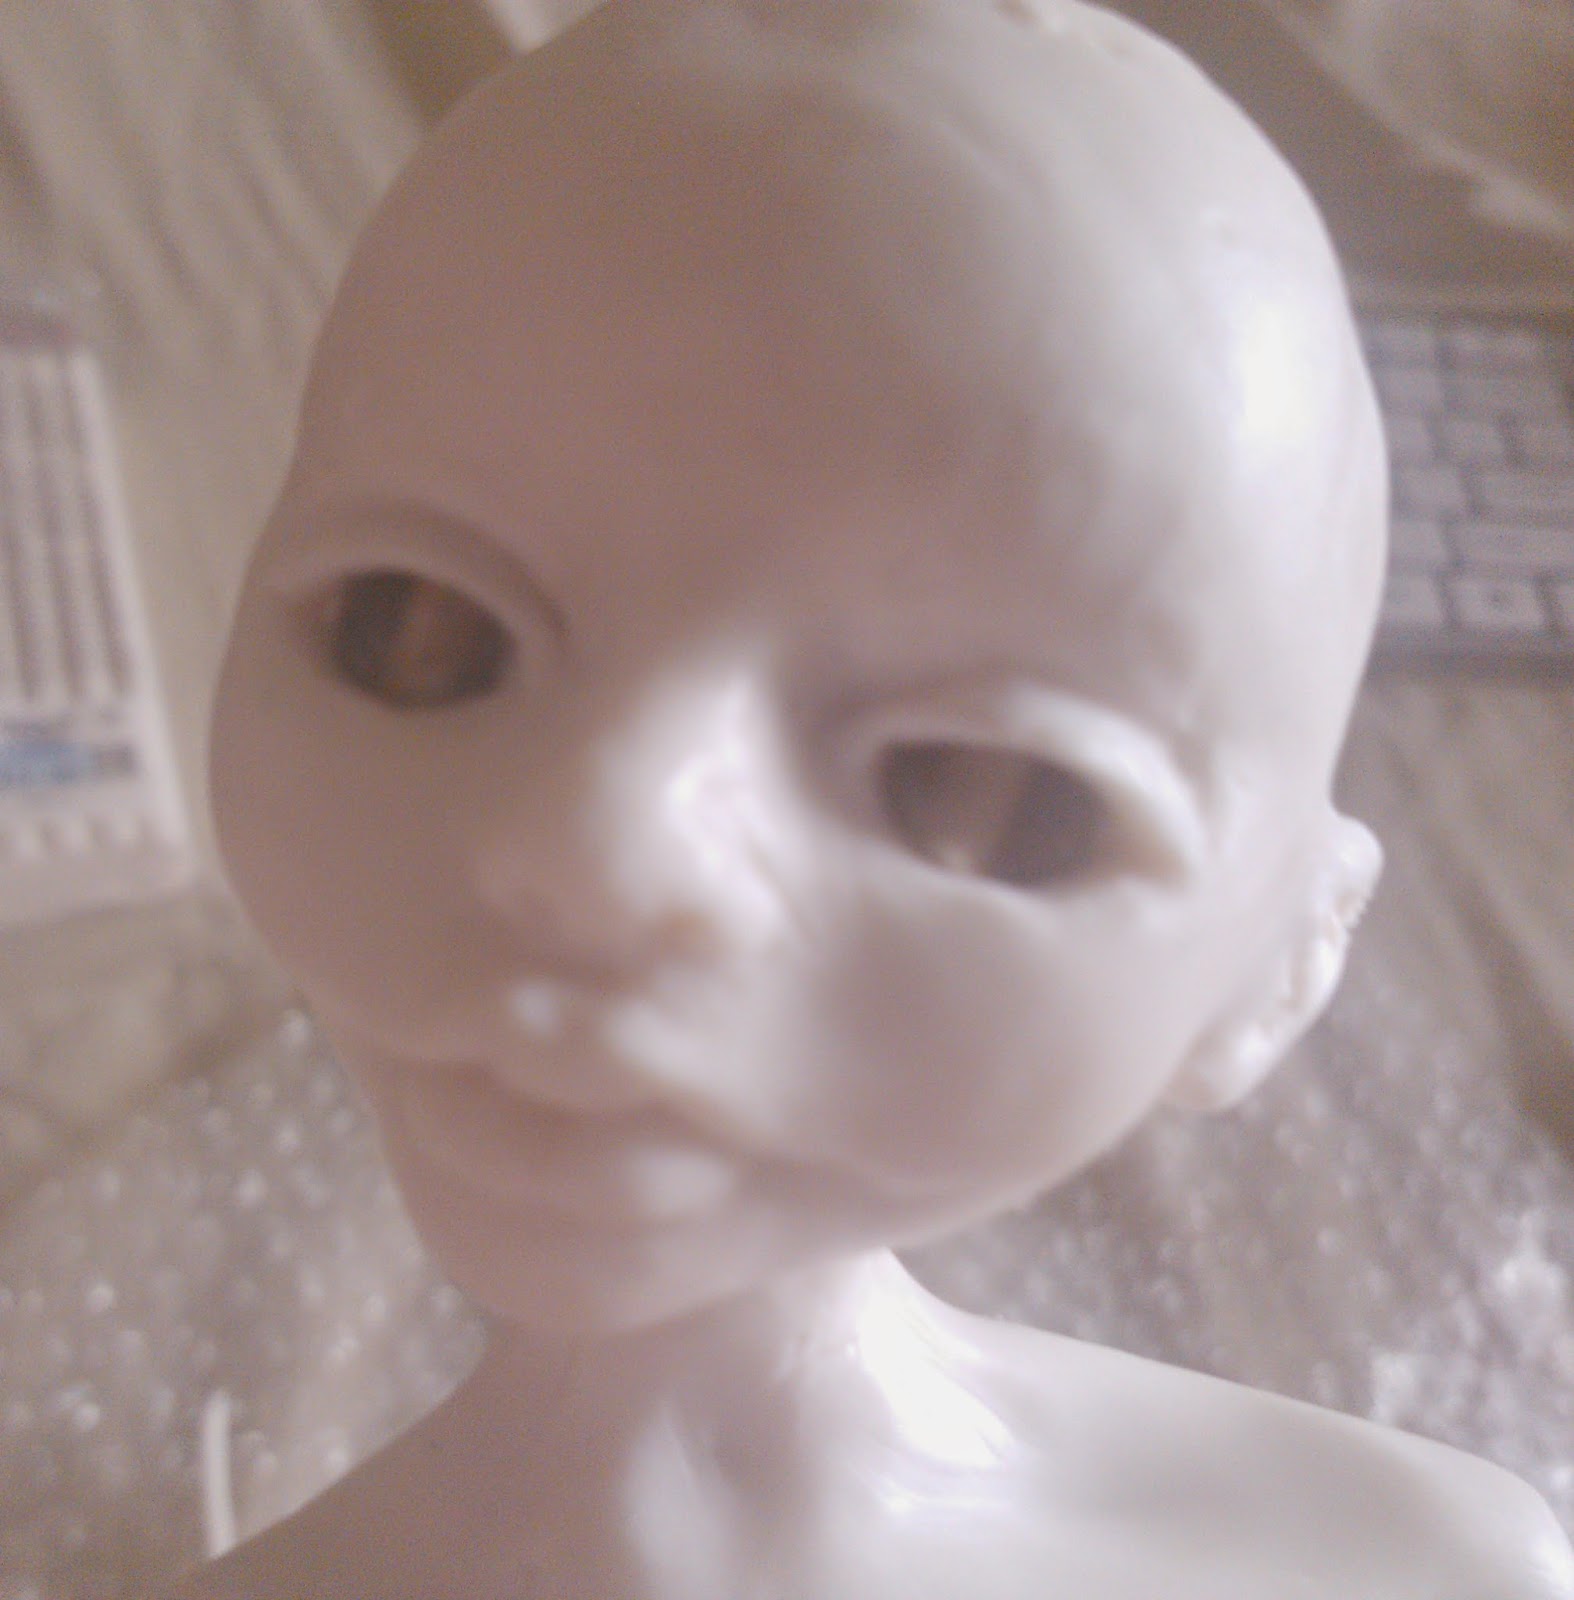
This is where I was at once all the sculpting was finished and all limbs attached.
Basically sculpt your arms/hands, sculpt your boots and then attach them to your armature with glue.
Use pillow stuffing or quilt batting to wrap around the wire to pad out the body parts as much as you like.
Use some cloth to cover over the padding and sew it up or use fabric glue.
Paint your doll's face however you like. I use acrylic paints. Paint the nails and boots.
Glue hair over the head and style however you like. There are plenty of tutorials out there for attaching hair. This hair was orange wool roving, but I eventually replaced it with black and white viscose hair.
I use false eyelashes from a pound store, cut them to size and use fabric glue to stick them on the eyelids.
Create your clothes using different scraps of fabric, sewn or glue on in a haphazard way.

This is what the doll looks like now.
No comments:
Post a Comment